Creating a Gen AI Voice Bot
Learn how to create a Gen AI Voice Bot with Chat360 using LLMs, STT, TTS, AI prompts and conversation loops for intelligent, real-time voice interactions.
A Gen AI Voice Bot enables automated voice interactions powered by generative AI. Using Chat360’s Voice Bot Builder, you can create conversational bots that understand user input through Speech-to-Text (STT), process queries using Large Language Models (LLMs), and respond through Text-to-Speech (TTS).
This guide explains how to create and configure a Gen AI-powered voice bot from login to deployment.
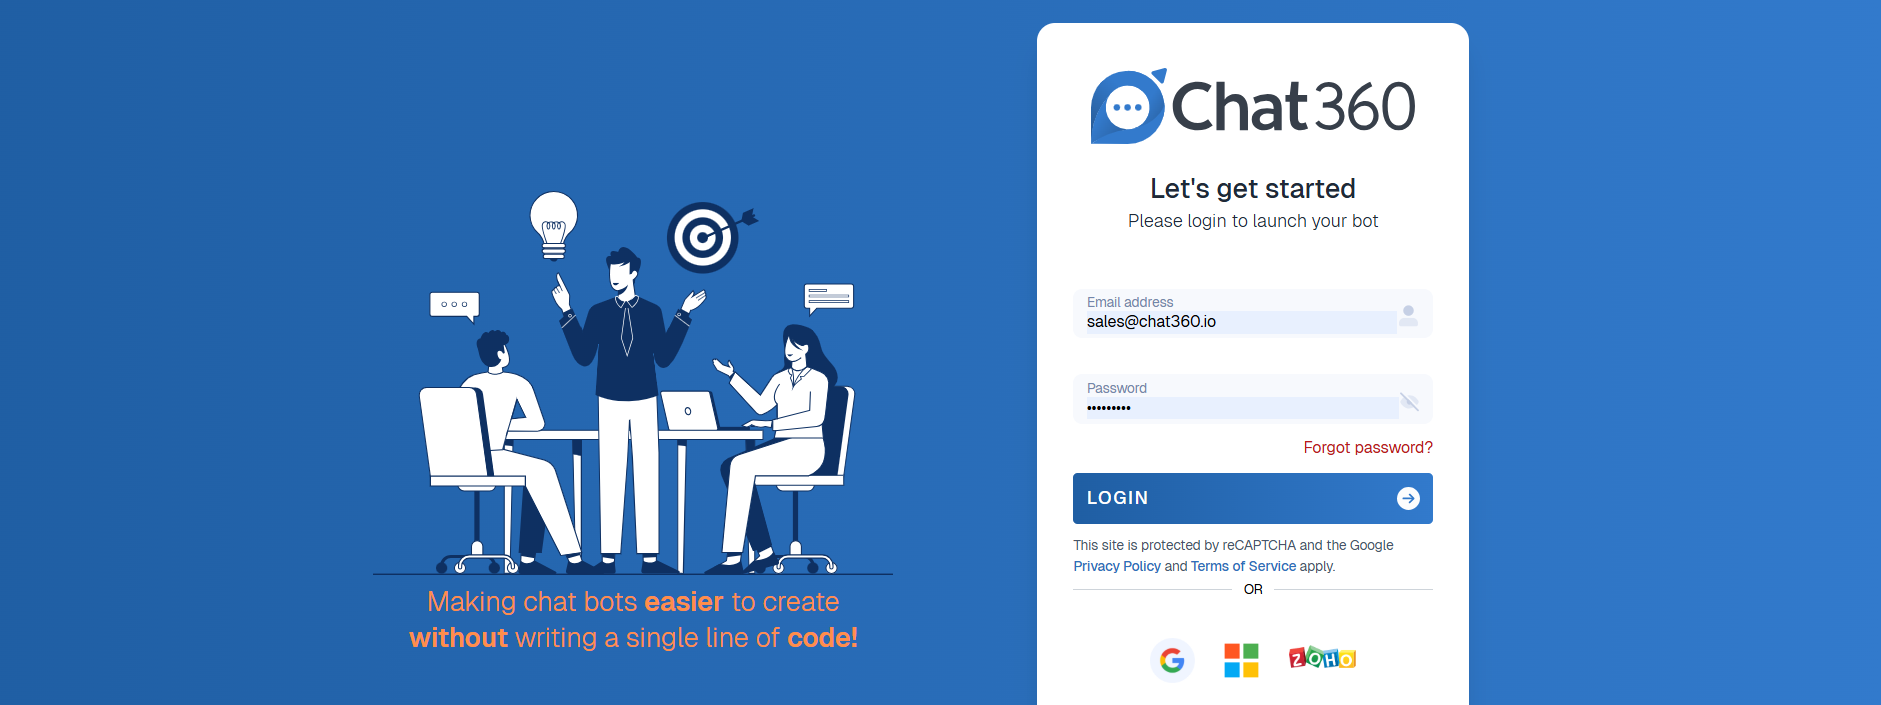
Step 1: Log In to the Platform
Open your web browser.
Navigate to the voice bot platform URL.
Enter your username and password.
Click Log In to access the dashboard.
Step 2: Access the Dashboard
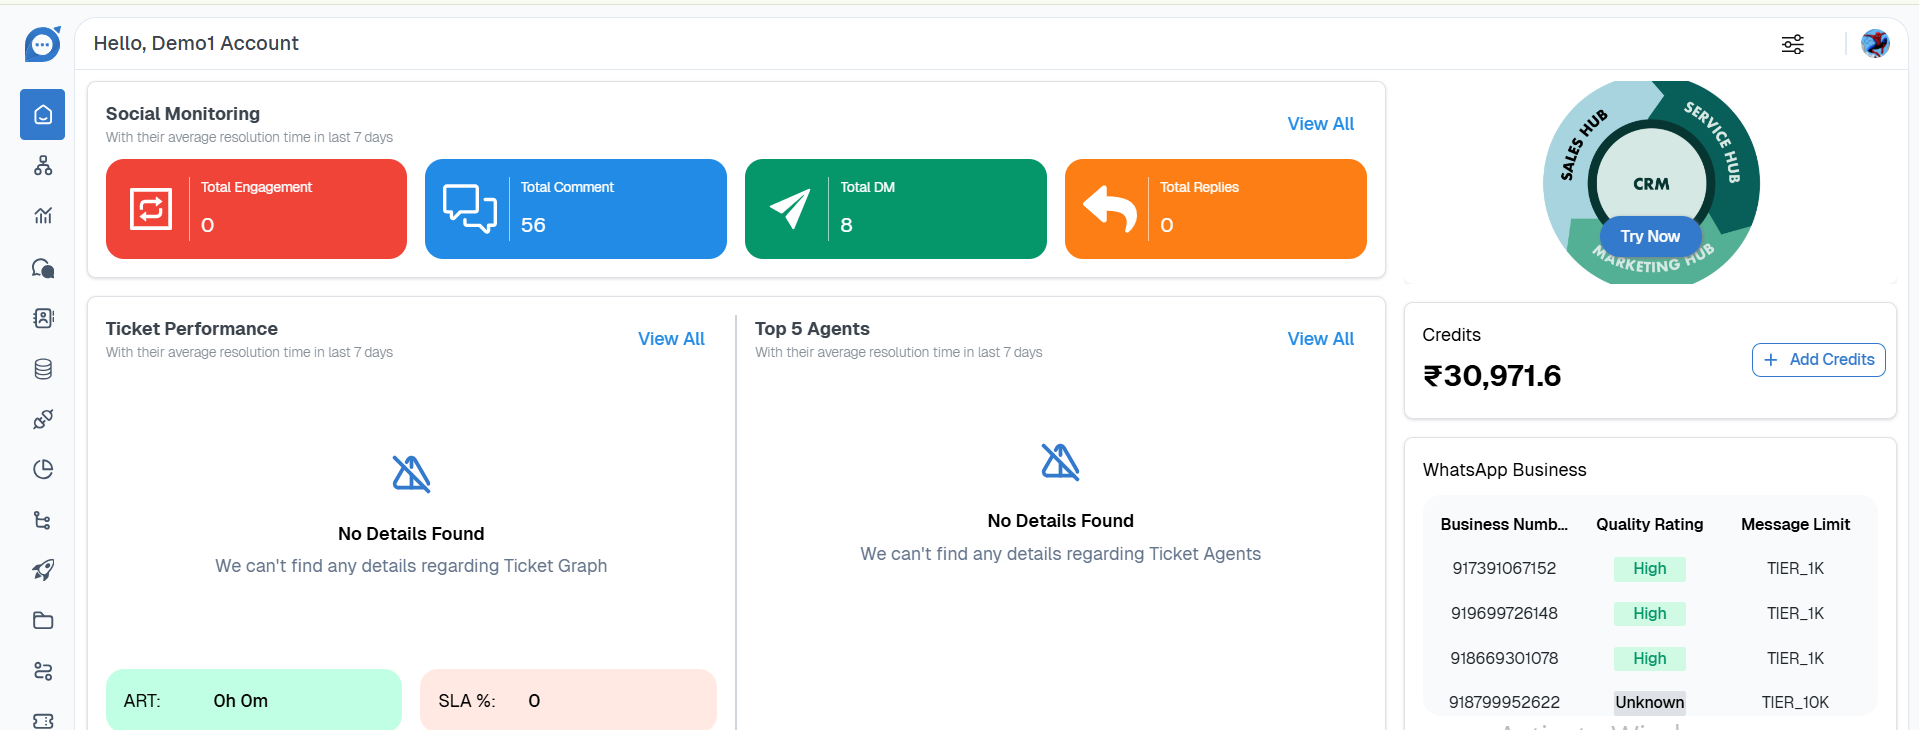
After logging in, the home dashboard appears. Which provides an overview of the platform and quick access to various features.
Step 3: Navigate to Bots
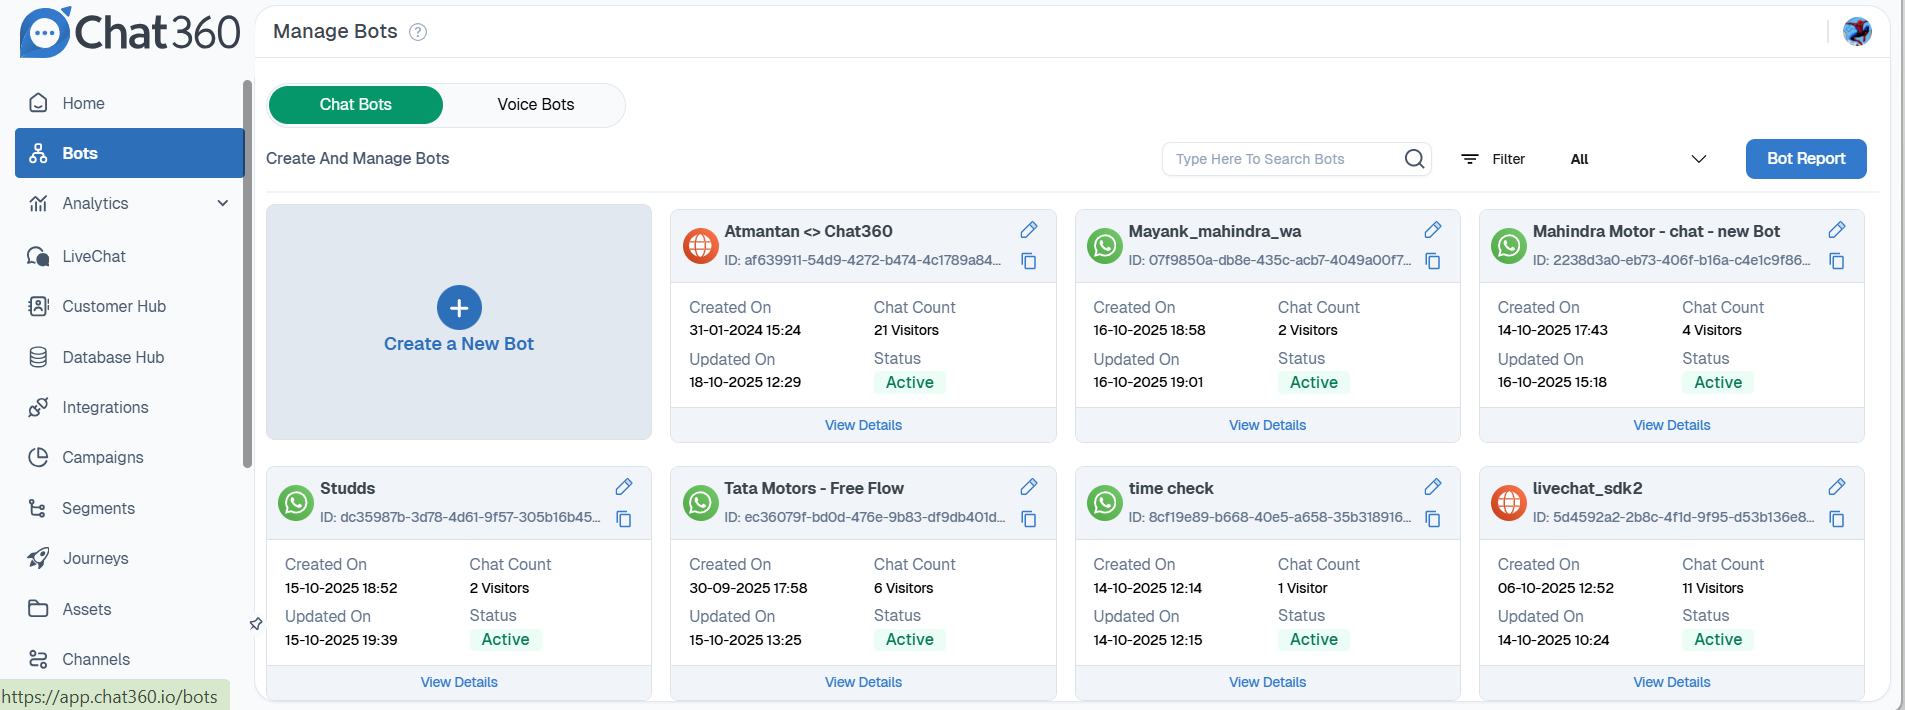
From the left-side navigation panel, click Bots.
This opens the Bot Management section where you can create and manage bots.
Step 4: Select the Voice Bot Tab
Within the Bot Management page:
Click the Voice Bot tab.
This section allows you to create and manage voice-enabled bots.
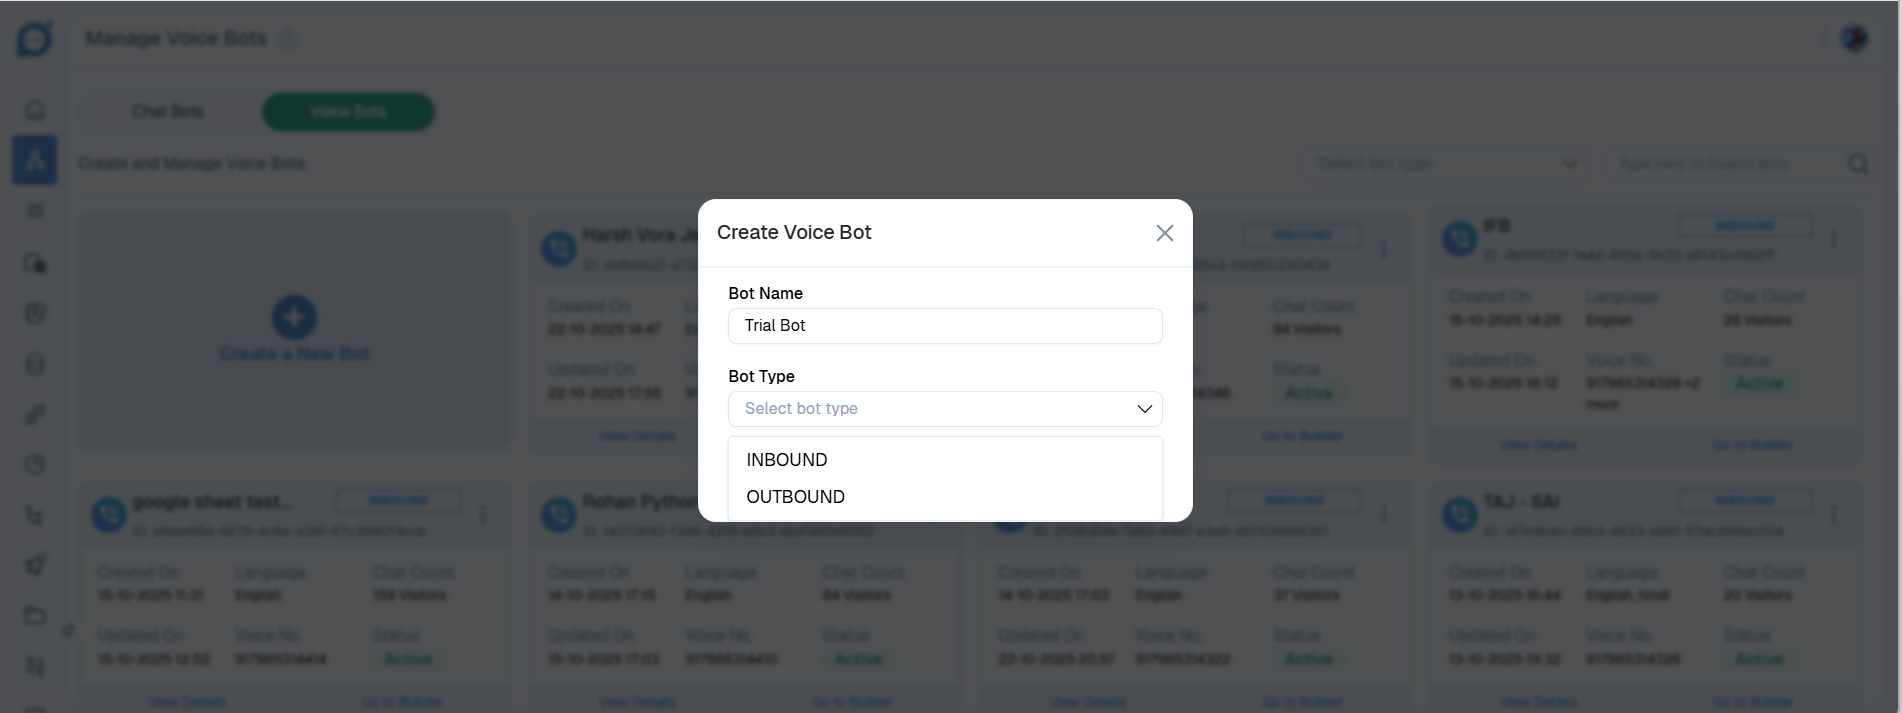
Step 5: Enter Bot Name
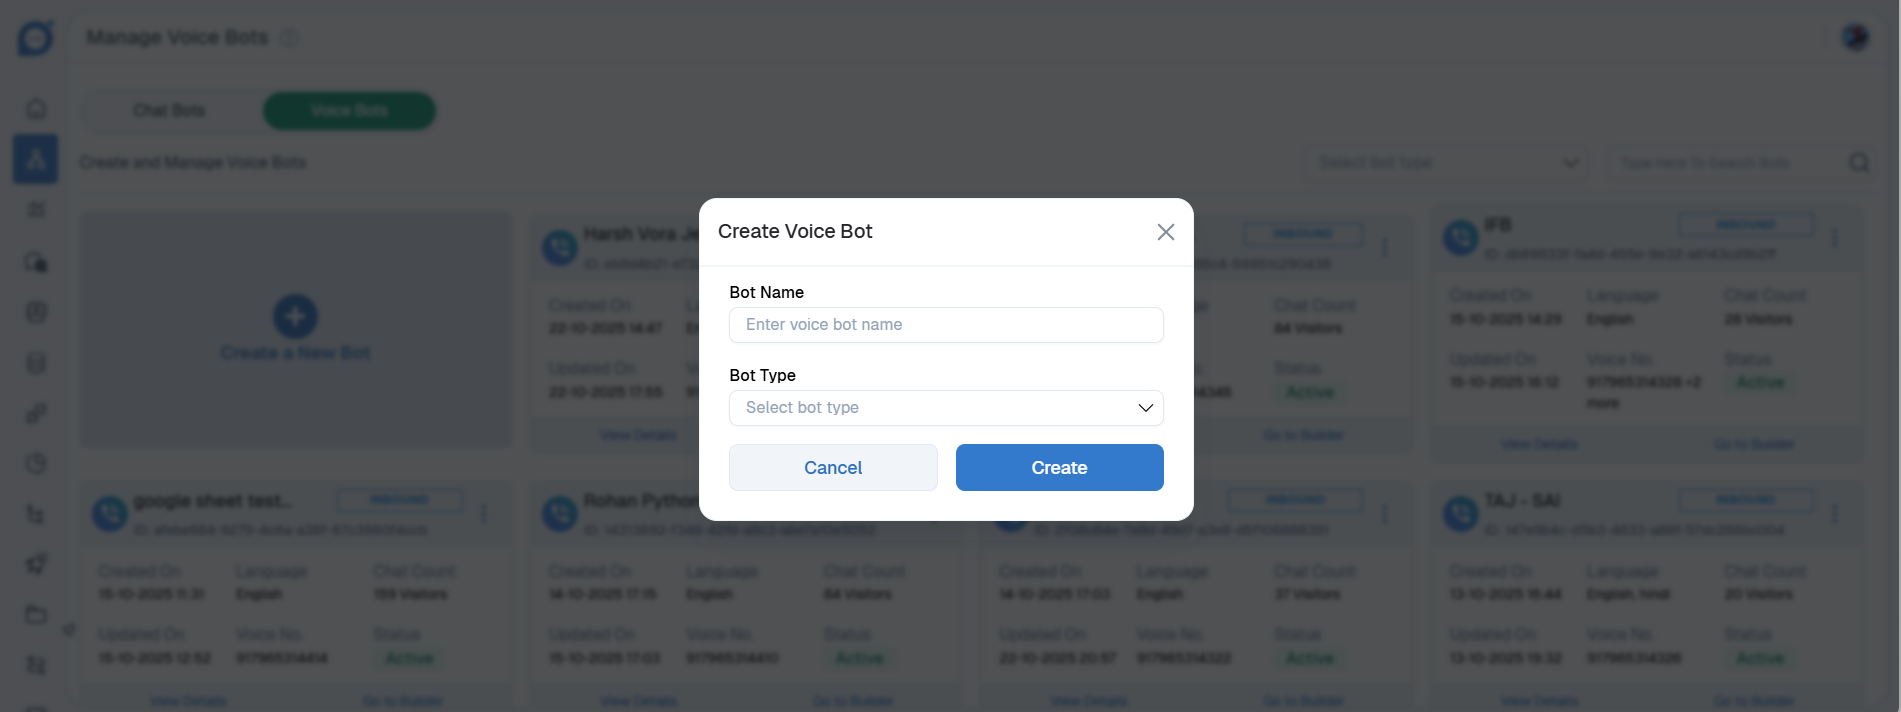
Provide a unique and descriptive name for your bot.
This helps identify the bot later when managing multiple bots.
Step 6: Choose Bot Type
Select the type of voice bot you want to create:
Inbound Bot – Handles incoming calls from users.
Outbound Bot – Initiates calls to users for campaigns or notifications.
Step 7: Open the Bot Builder
After creating the bot, the Bot Builder interface will open.
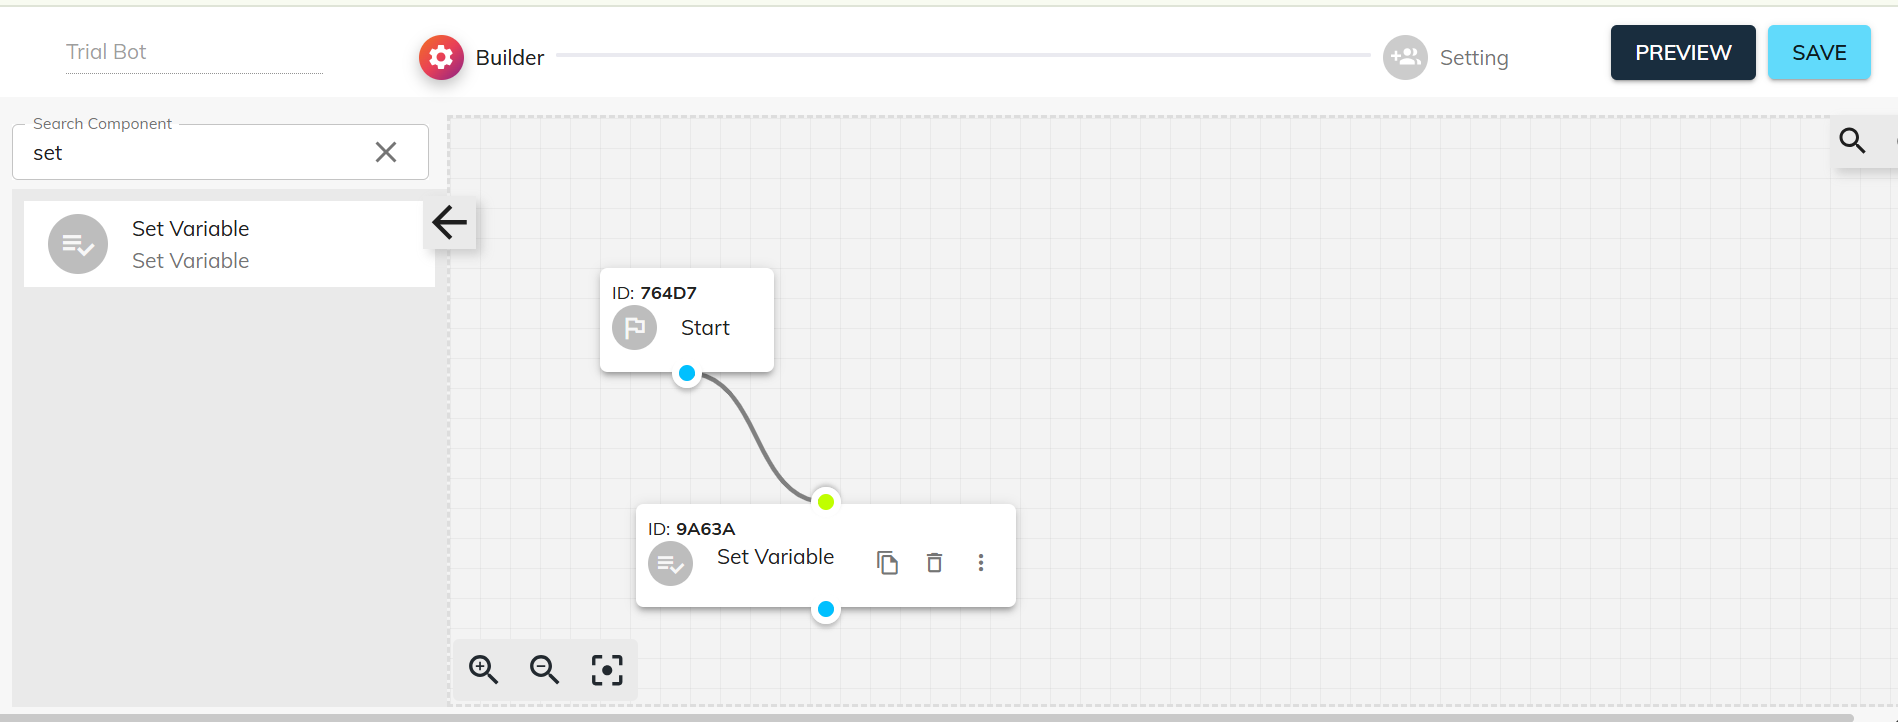
Start with the Start Component.
Connect the Start node to the next component in your workflow.
Step 8: Add a Set Variable Component
Search for the Set Variable component in the component panel.
Drag it into the flow and connect it to the Start node.
Configure the Variable
Define:
Variable Name
Variable Value
This variable can be referenced anywhere within the bot flow.
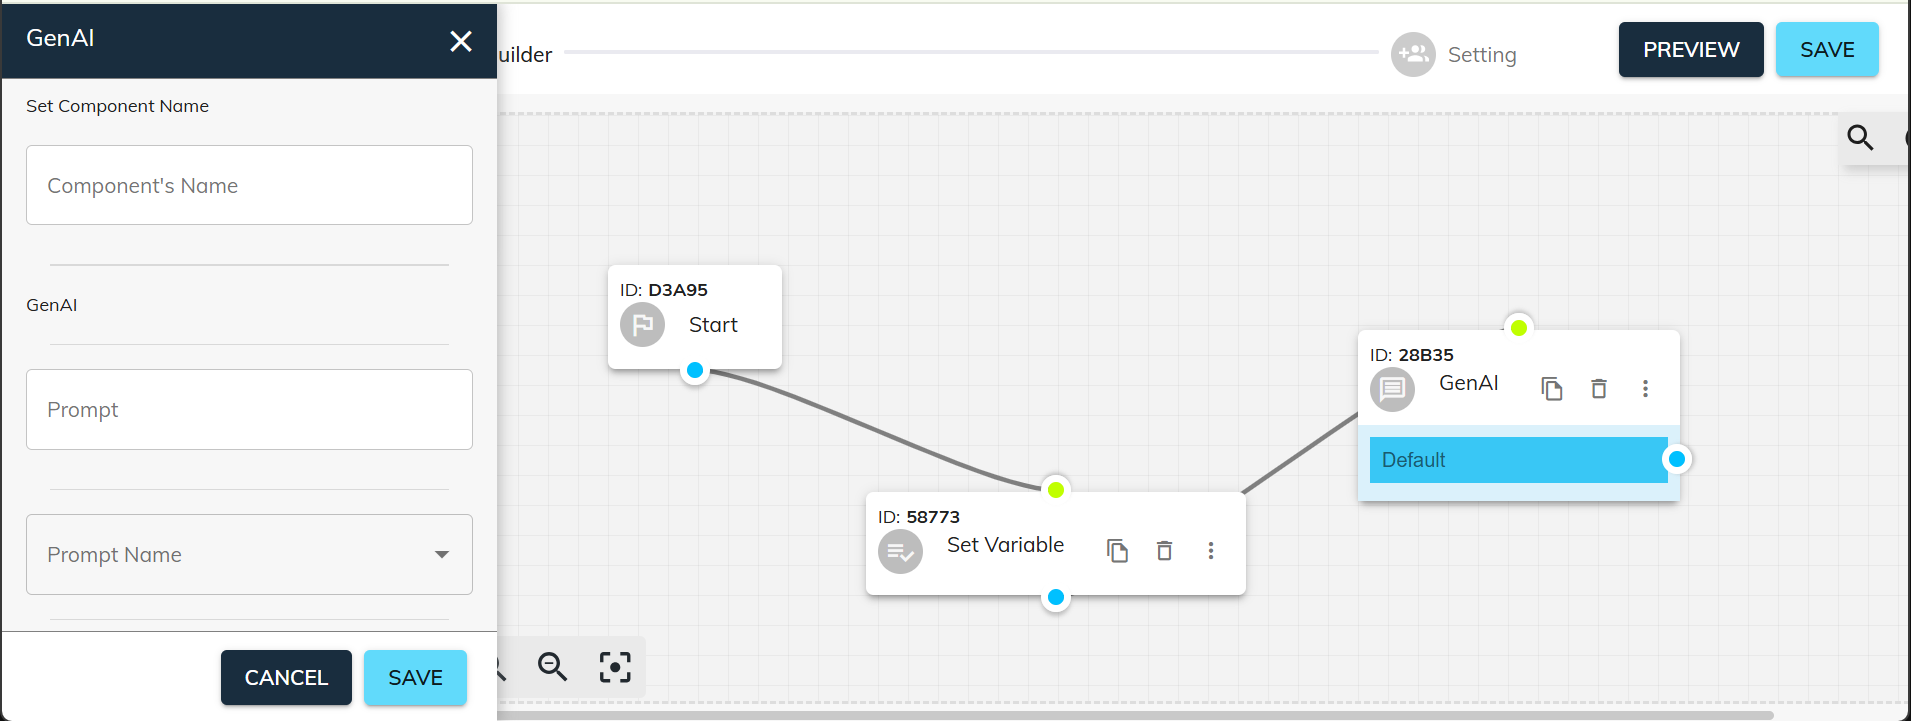
Step 9: Add the Gen AI Component
Attach the Gen AI component after the Set Variable component.
This component enables the bot to generate AI-powered responses based on user input.
Step 10: Add a Prompt (Optional)
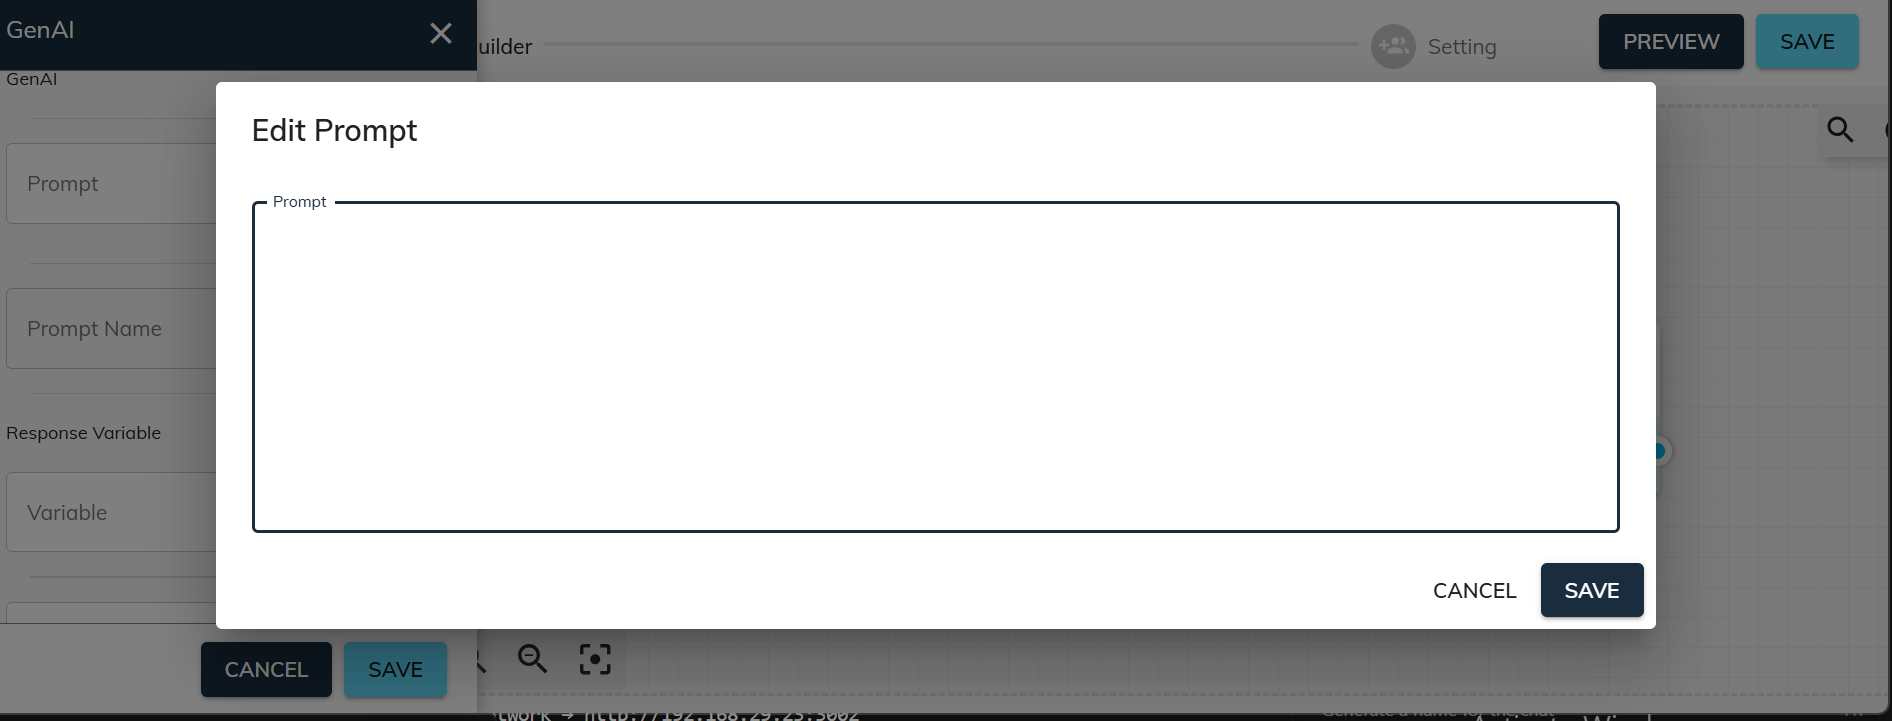
While configuring the Gen AI component, you can define a prompt that guides the AI's responses. Currently, adding prompts directly may require:
Using API tools such as Postman, or
Assistance from a Product Manager, Developer, or Bot Builder.
Step 11: Select a Prompt from AI Hub
Alternatively, you can select a predefined prompt from the AI Hub. Preconfigured prompts help standardize AI responses across multiple bots. Custom prompt creation can be configured separately within the AI Hub.
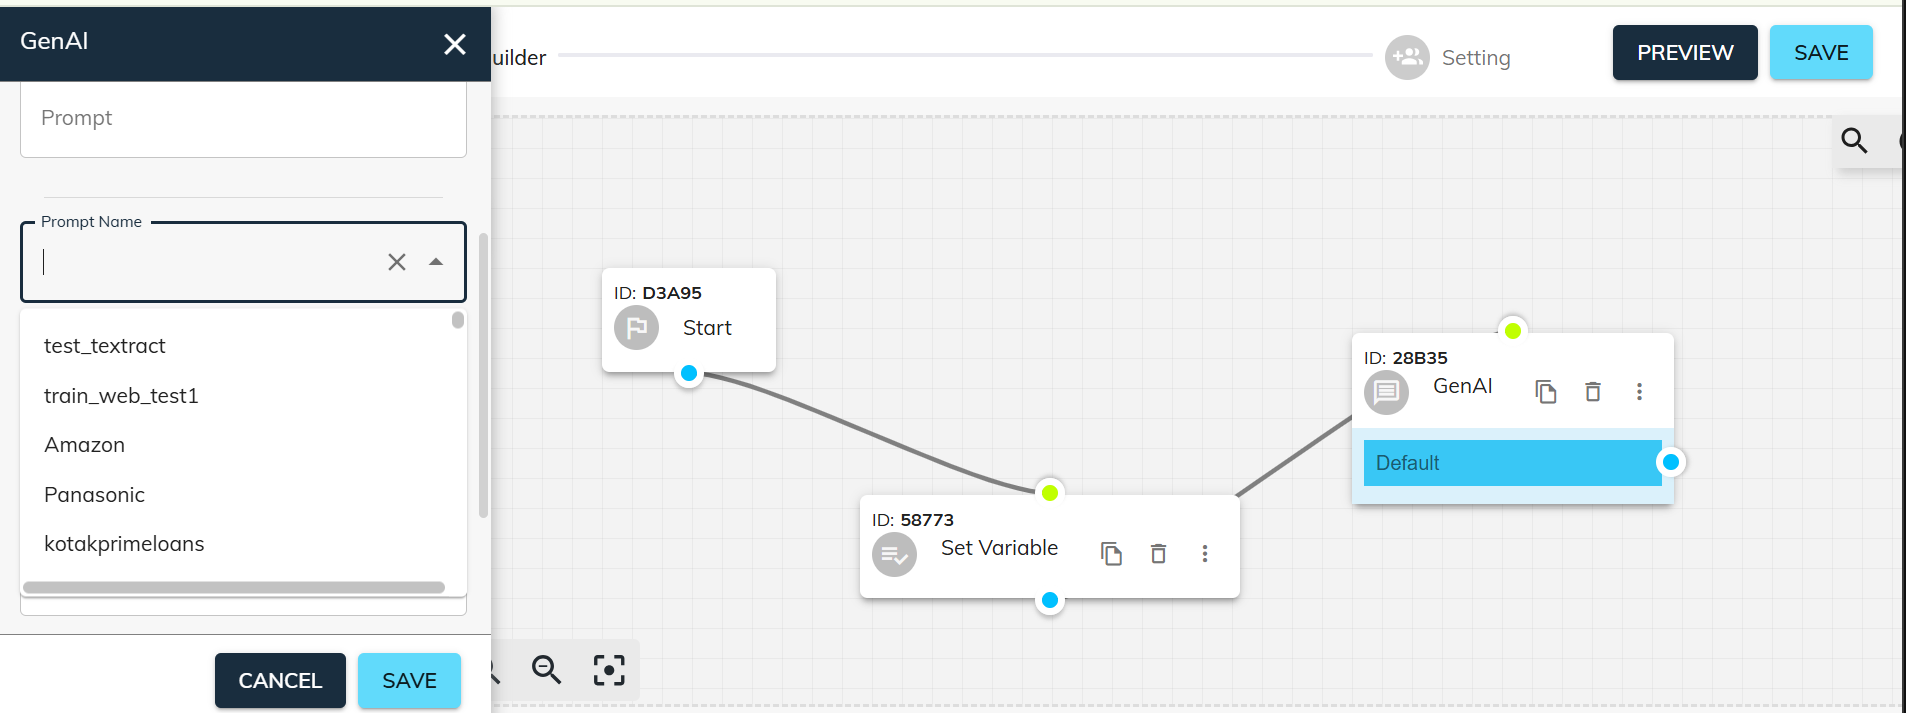
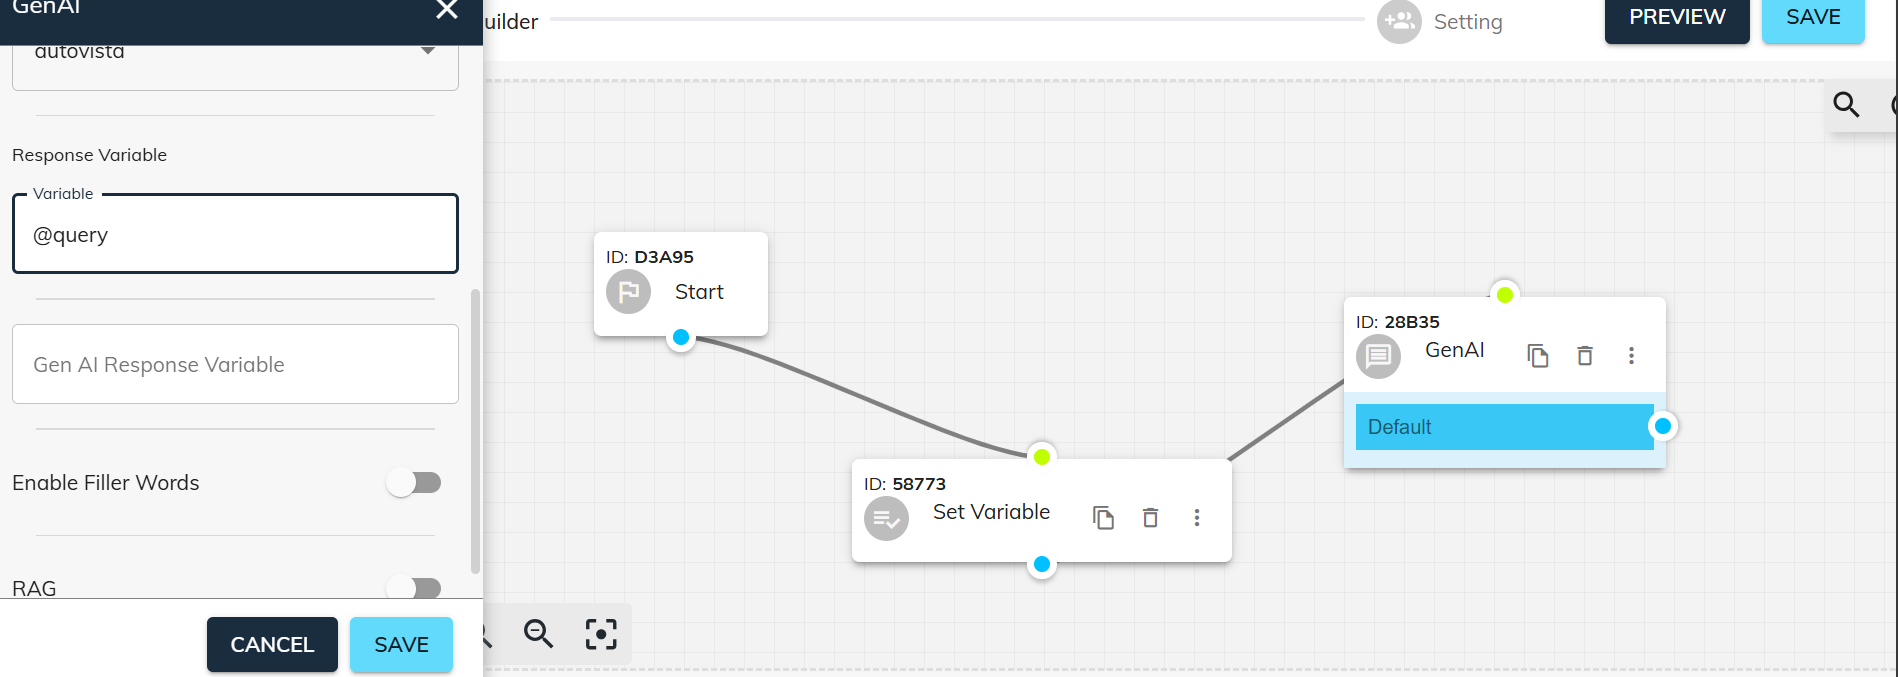
Step 12: Configure Query Variable
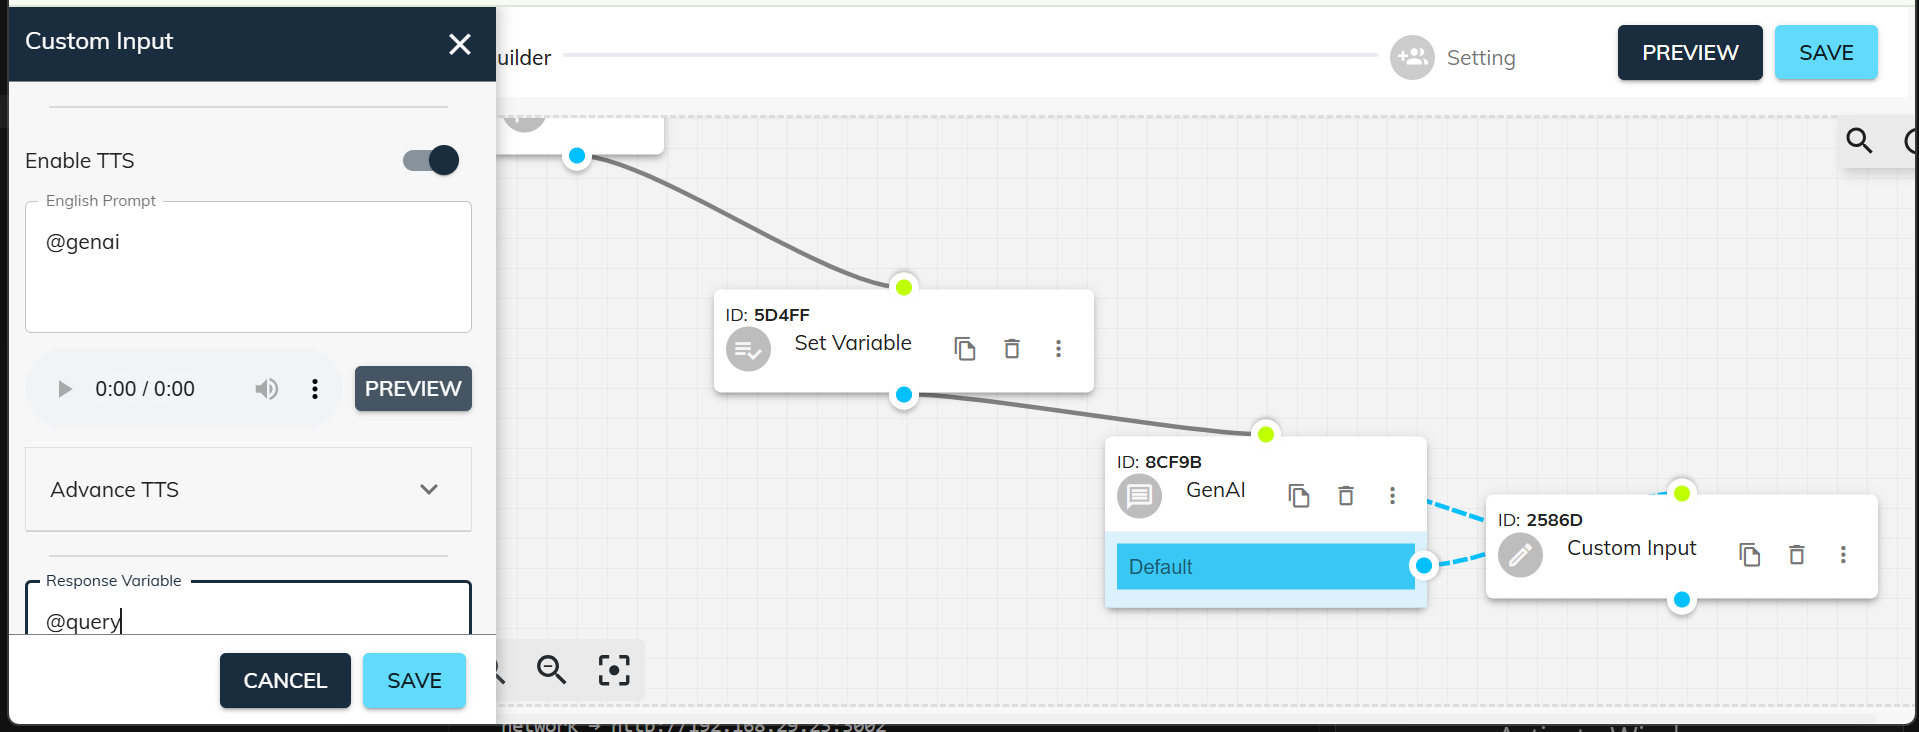
Set the query variable as: @query.This variable stores user input or spoken queries received during the conversation.
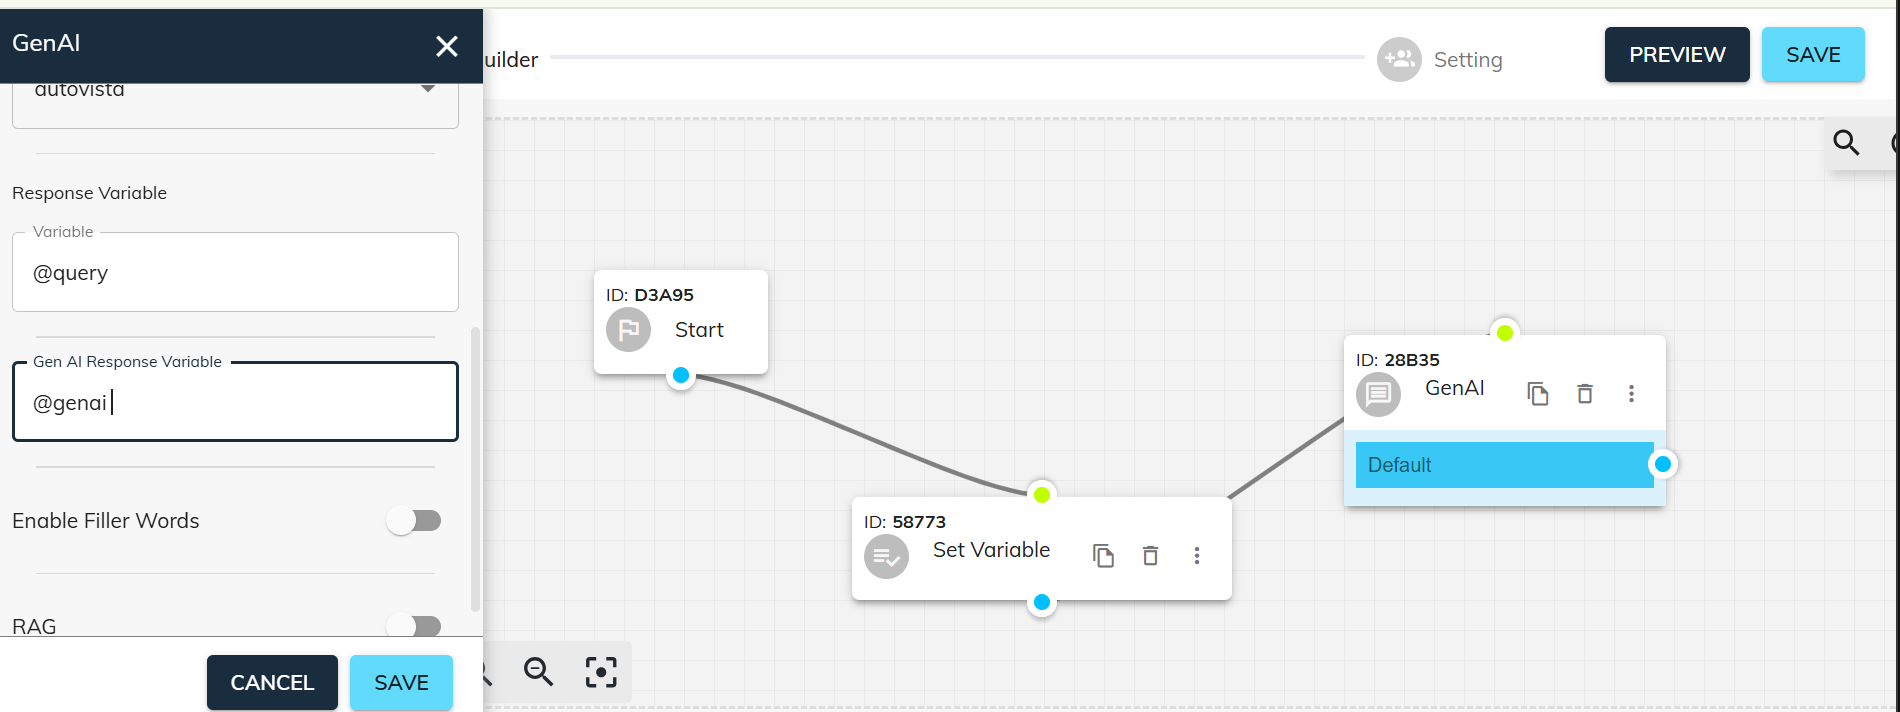
Step 13: Configure Gen AI Response Variable
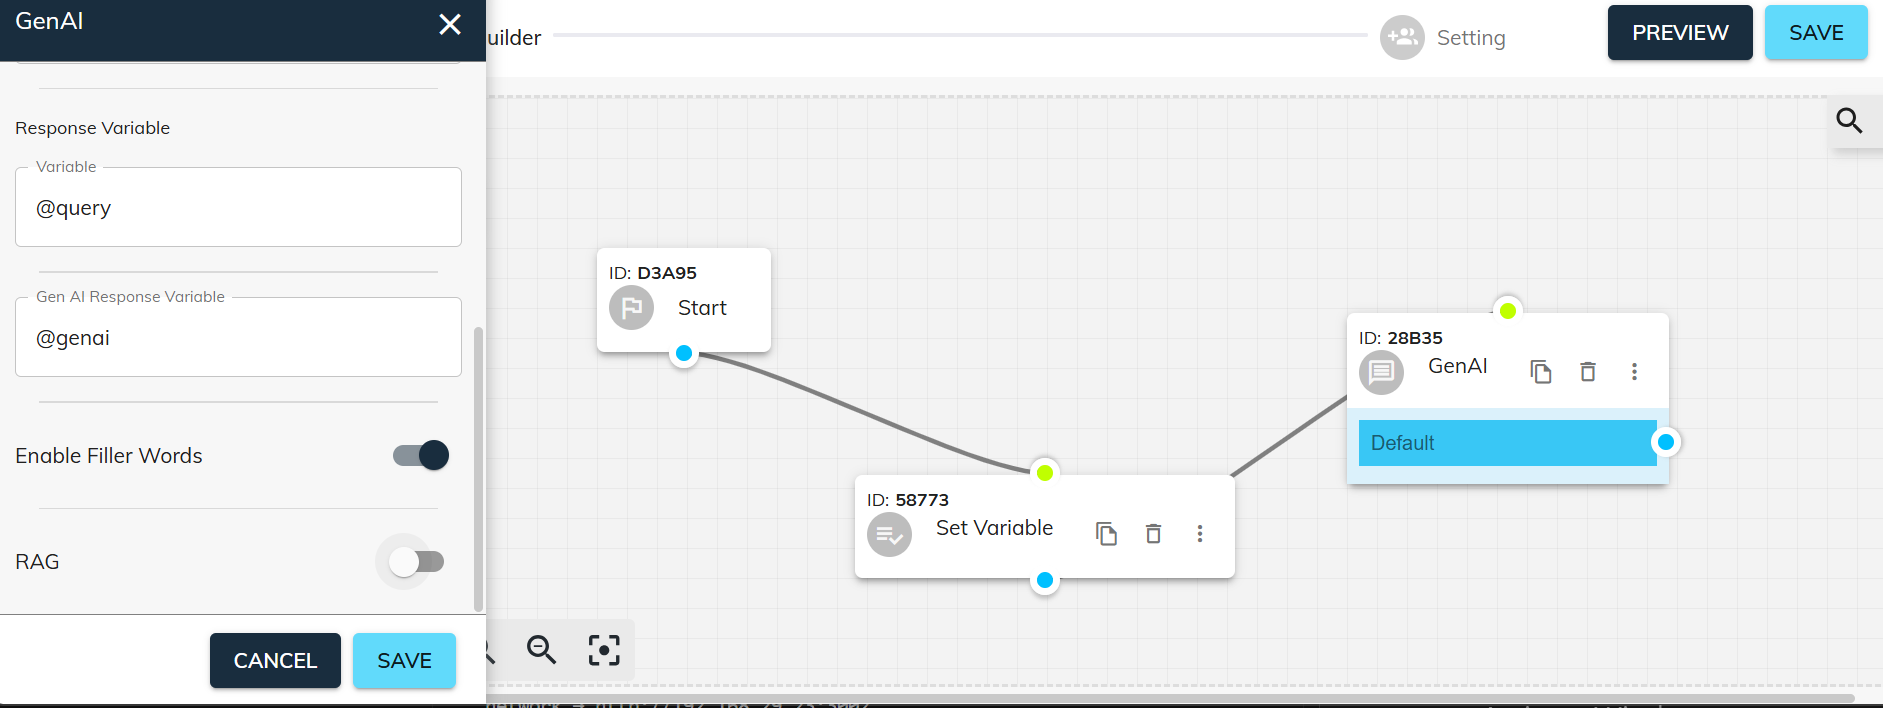
Set the Gen AI response variable as:
@genai.
This variable stores the AI-generated response. You may also enable filler words to create more natural conversational speech if needed.
Step 14: Configure the Conversation Loop
To maintain an ongoing conversation:
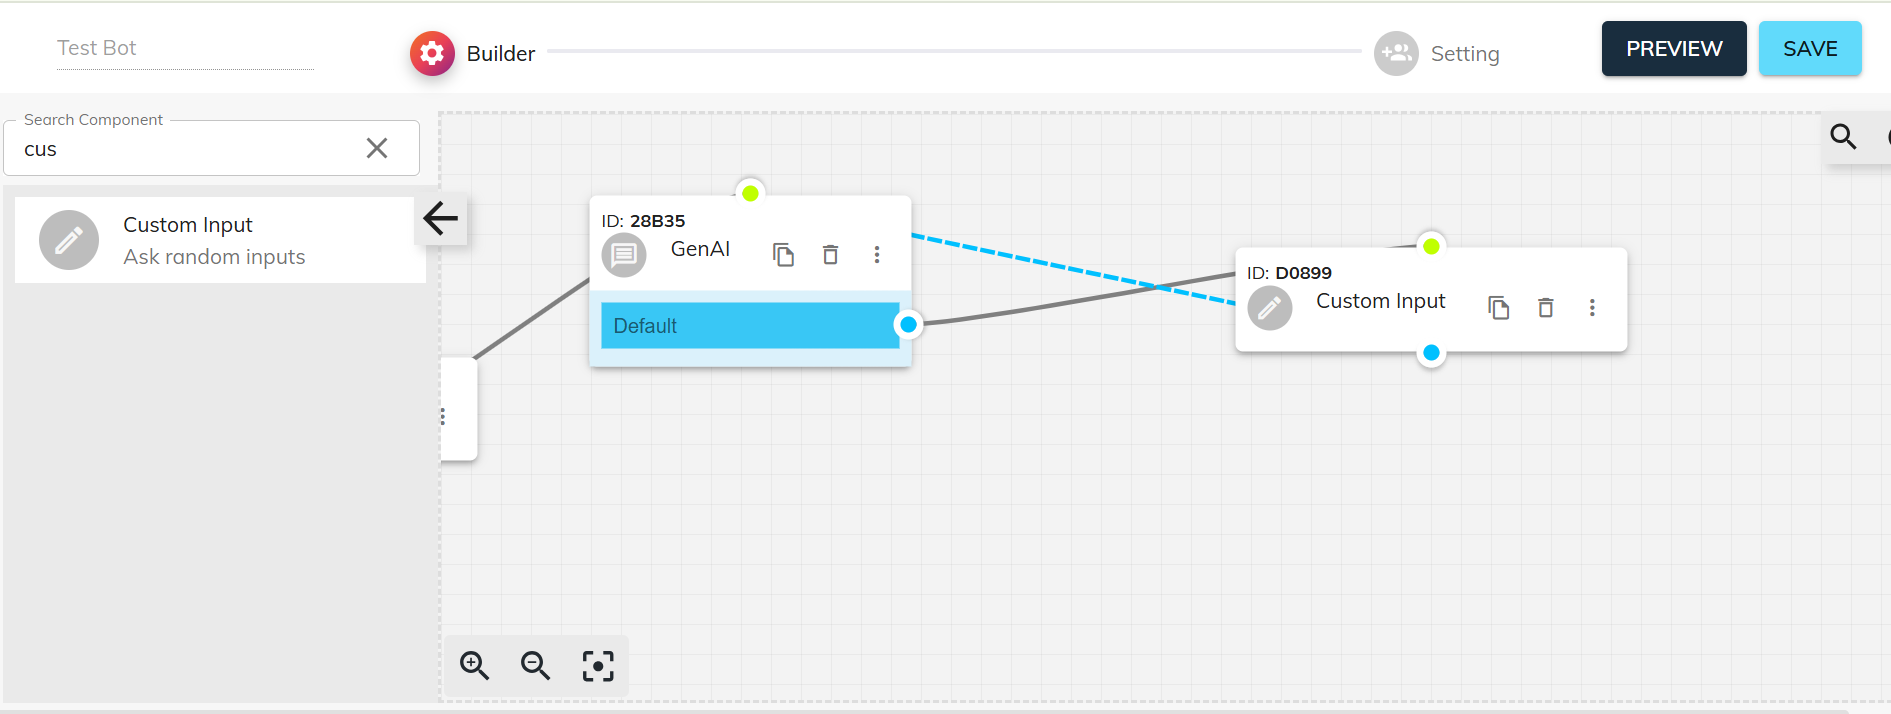
Connect the output of the Gen AI component to a Custom Input component.
Connect the output of the Custom Input back to the Gen AI component.
This loop allows the bot to continuously process user queries.
Step 15: Configure Custom Input for TTS Streaming
The Custom Input component is used for Text-to-Speech (TTS) streaming. Streaming AI Responses:
Set the streaming variable as:@genai.
This streams the AI-generated response to the user.
Custom TTS Output:
You can also create additional Custom Input components and manually enter text that should be spoken by the voice bot.
Step 16: Select Language
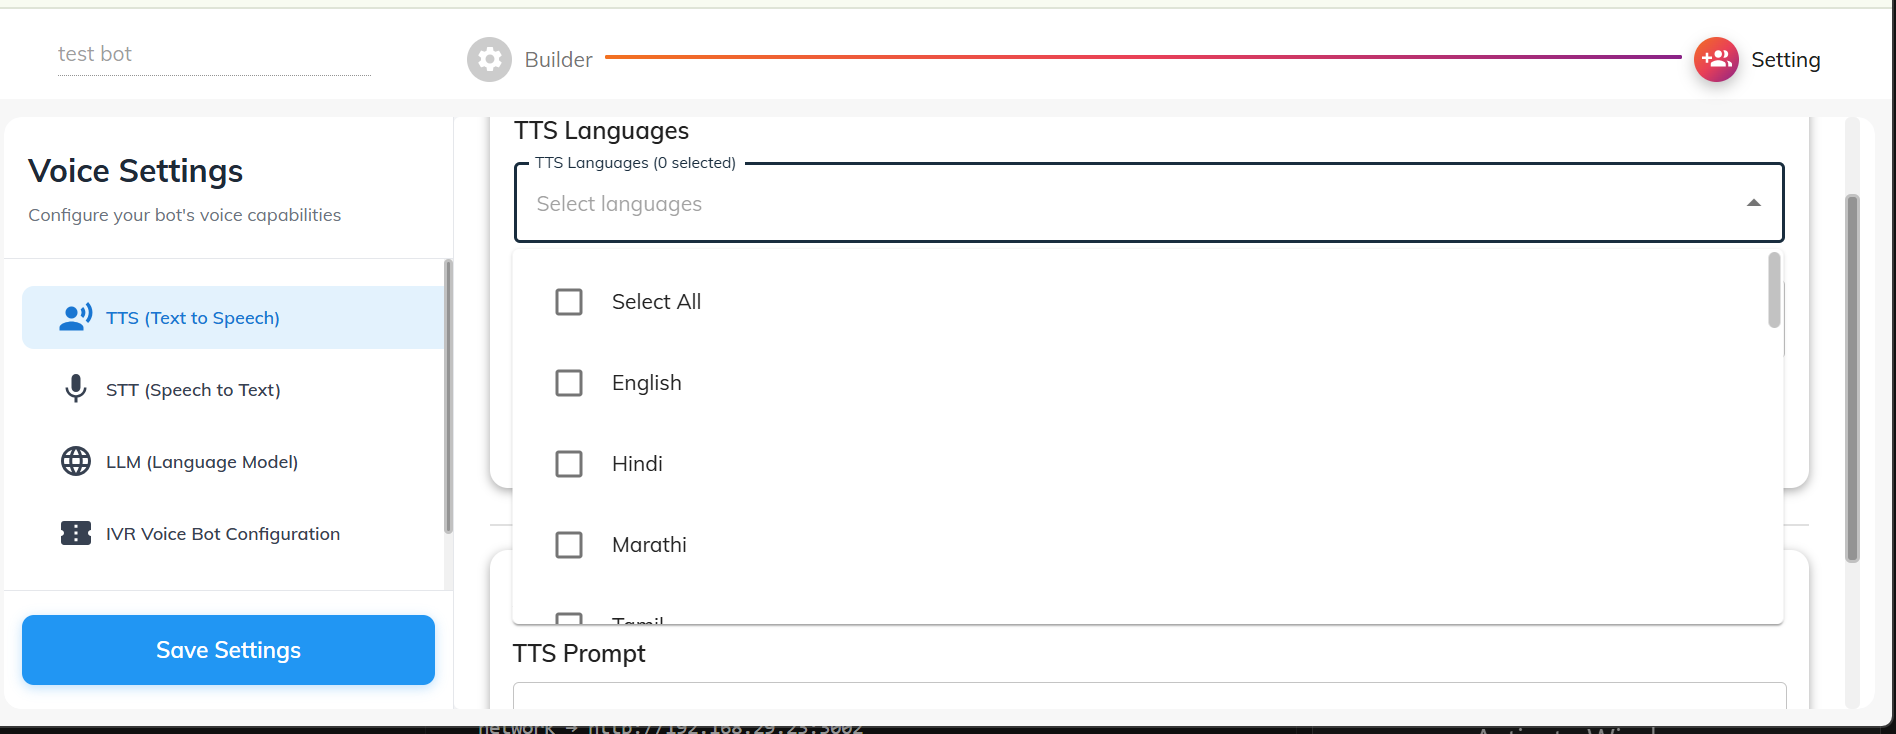
Navigate to Settings.
Choose the language your voice bot should use during interactions.
Language selection determines both speech recognition and response output.
Step 17: Customize TTS Pronunciation
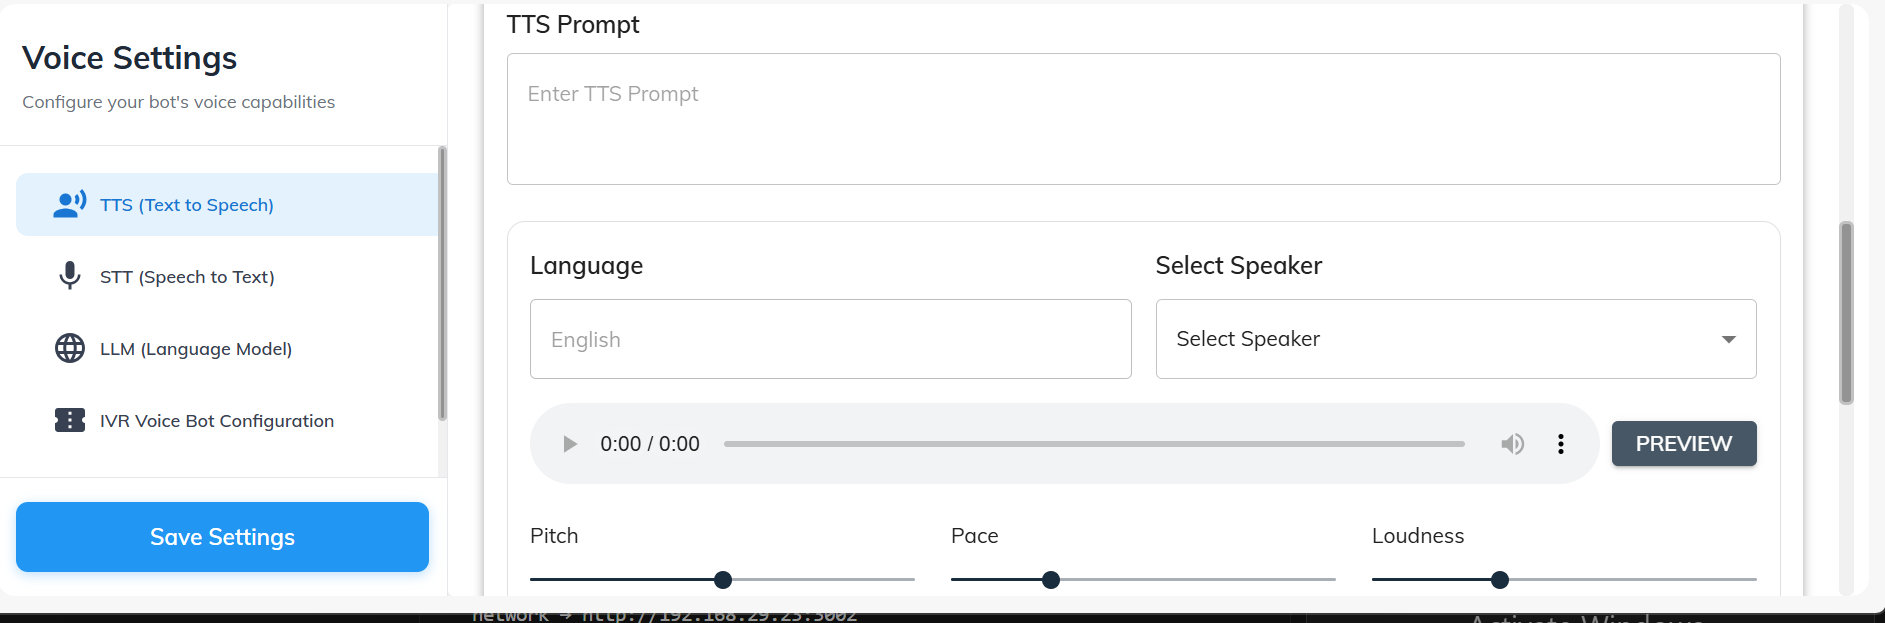
You can customize Text-to-Speech pronunciation rules for specific words.
This ensures that brand names, technical terms, or uncommon words are spoken correctly.
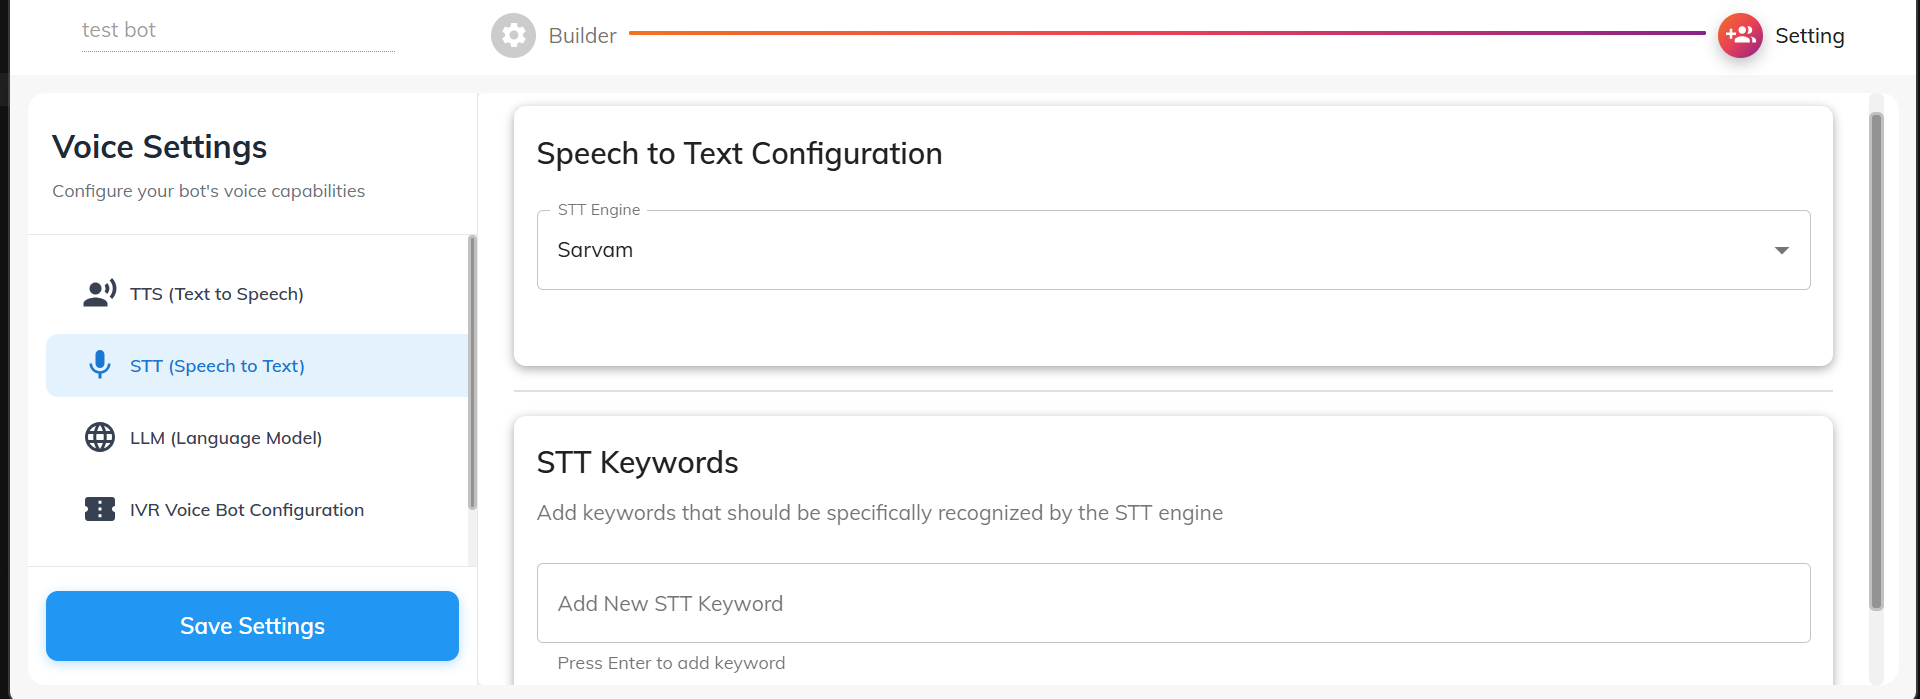
Step 18: Configure Speech-to-Text (STT)
From the side panel, select STT (Speech-to-Text).
Choose the STT engine that will convert user speech into text.
This allows the bot to understand spoken input during calls.
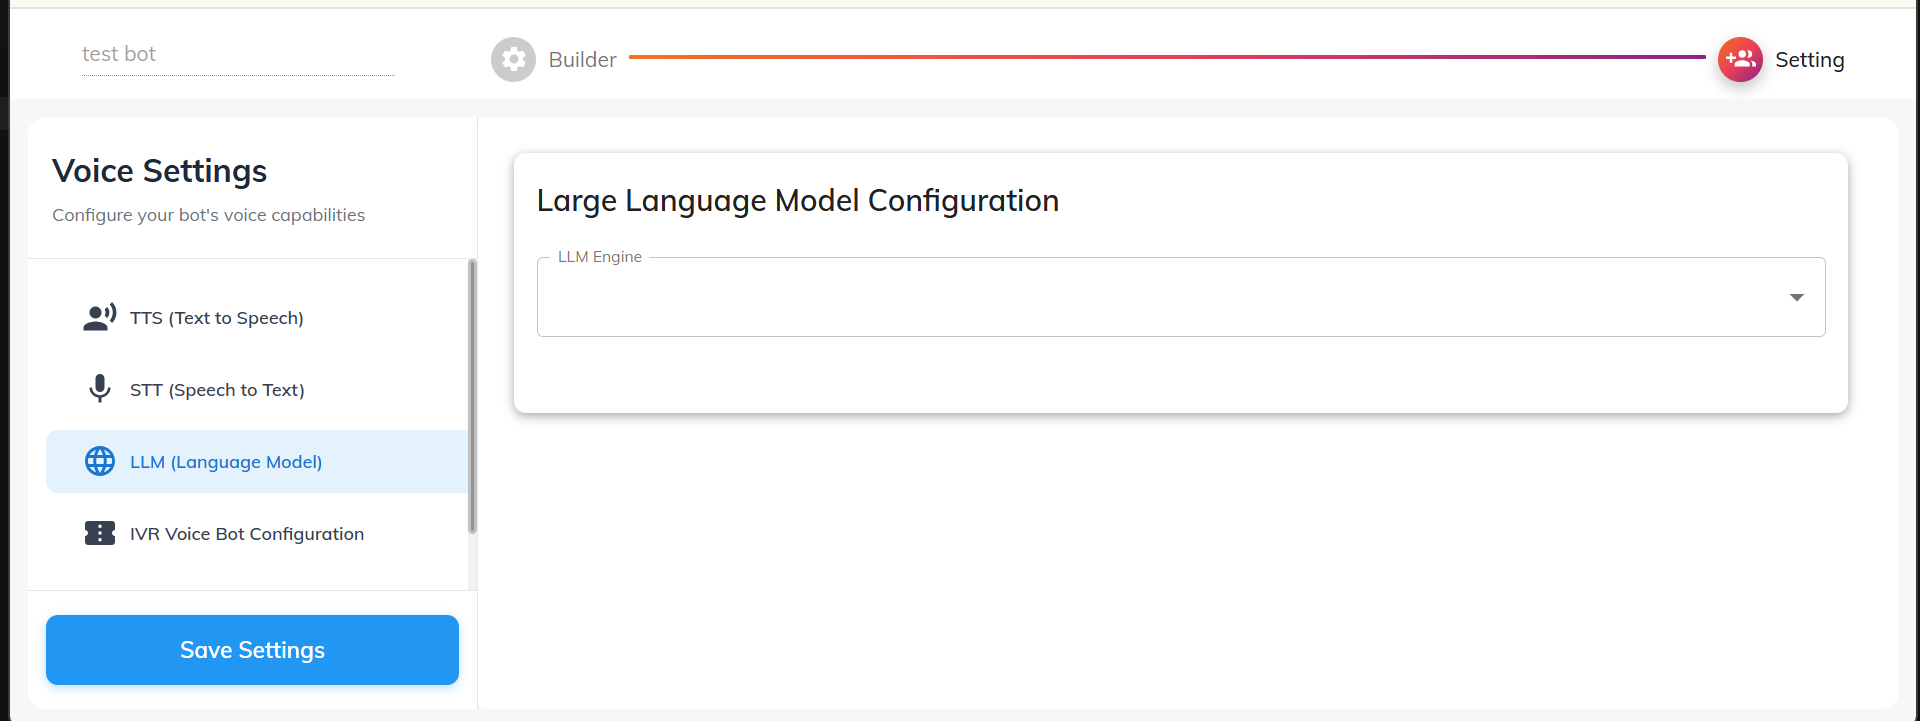
Step 19: Select the LLM
Choose the Large Language Model (LLM) that will power your Gen AI responses.
The LLM processes user queries and generates contextual replies during conversations.
By following these steps, you can create a Gen AI-powered voice bot capable of:
Understanding spoken user input
Generating AI-driven responses
Streaming voice responses through TTS
Supporting continuous conversational interactions
This setup enables businesses to automate voice interactions and deliver intelligent, real-time voice experiences.