Create Your Chatbot
Create conversational bots with Chat360’s Bot Builder using visual flows, templates and multi-channel deployment to automate customer interactions at scale.
The Bot Builder in Chat360 allows you to create conversational bots that automate interactions across multiple channels. You can build bots from scratch or use pre-built templates, then design conversation flows using the visual builder.
Follow the steps below to create and deploy your chatbot.
Step 1: Start a New Bot
Log in to the Chat360 Dashboard.
Navigate to Bot Builder from the sidebar.
Click Create New Bot.
On the Bots page, select Add New Chatbot.
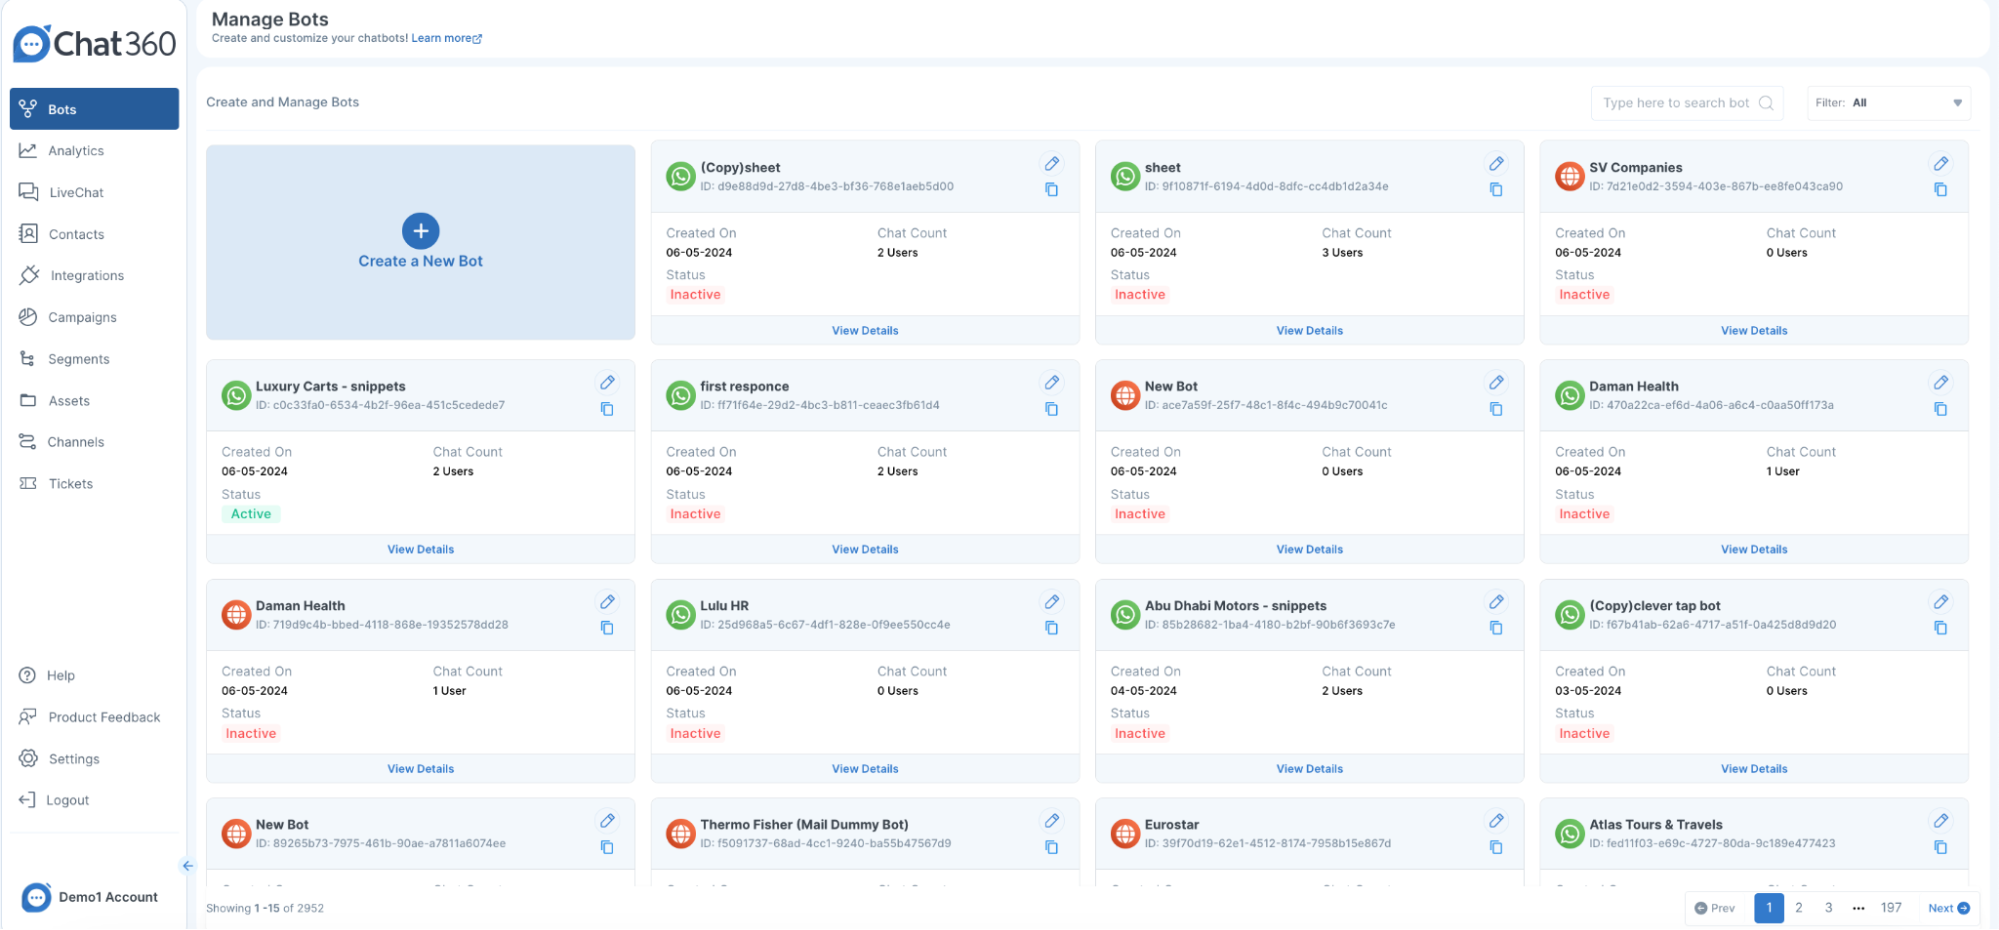
Step 2: Choose Your Bot Foundation
You can create your bot using one of the following options:
From Scratch: Build your conversation flow manually by adding components and designing the logic step by step.
Template: Select a pre-built conversational template and customize it to suit your business use case.
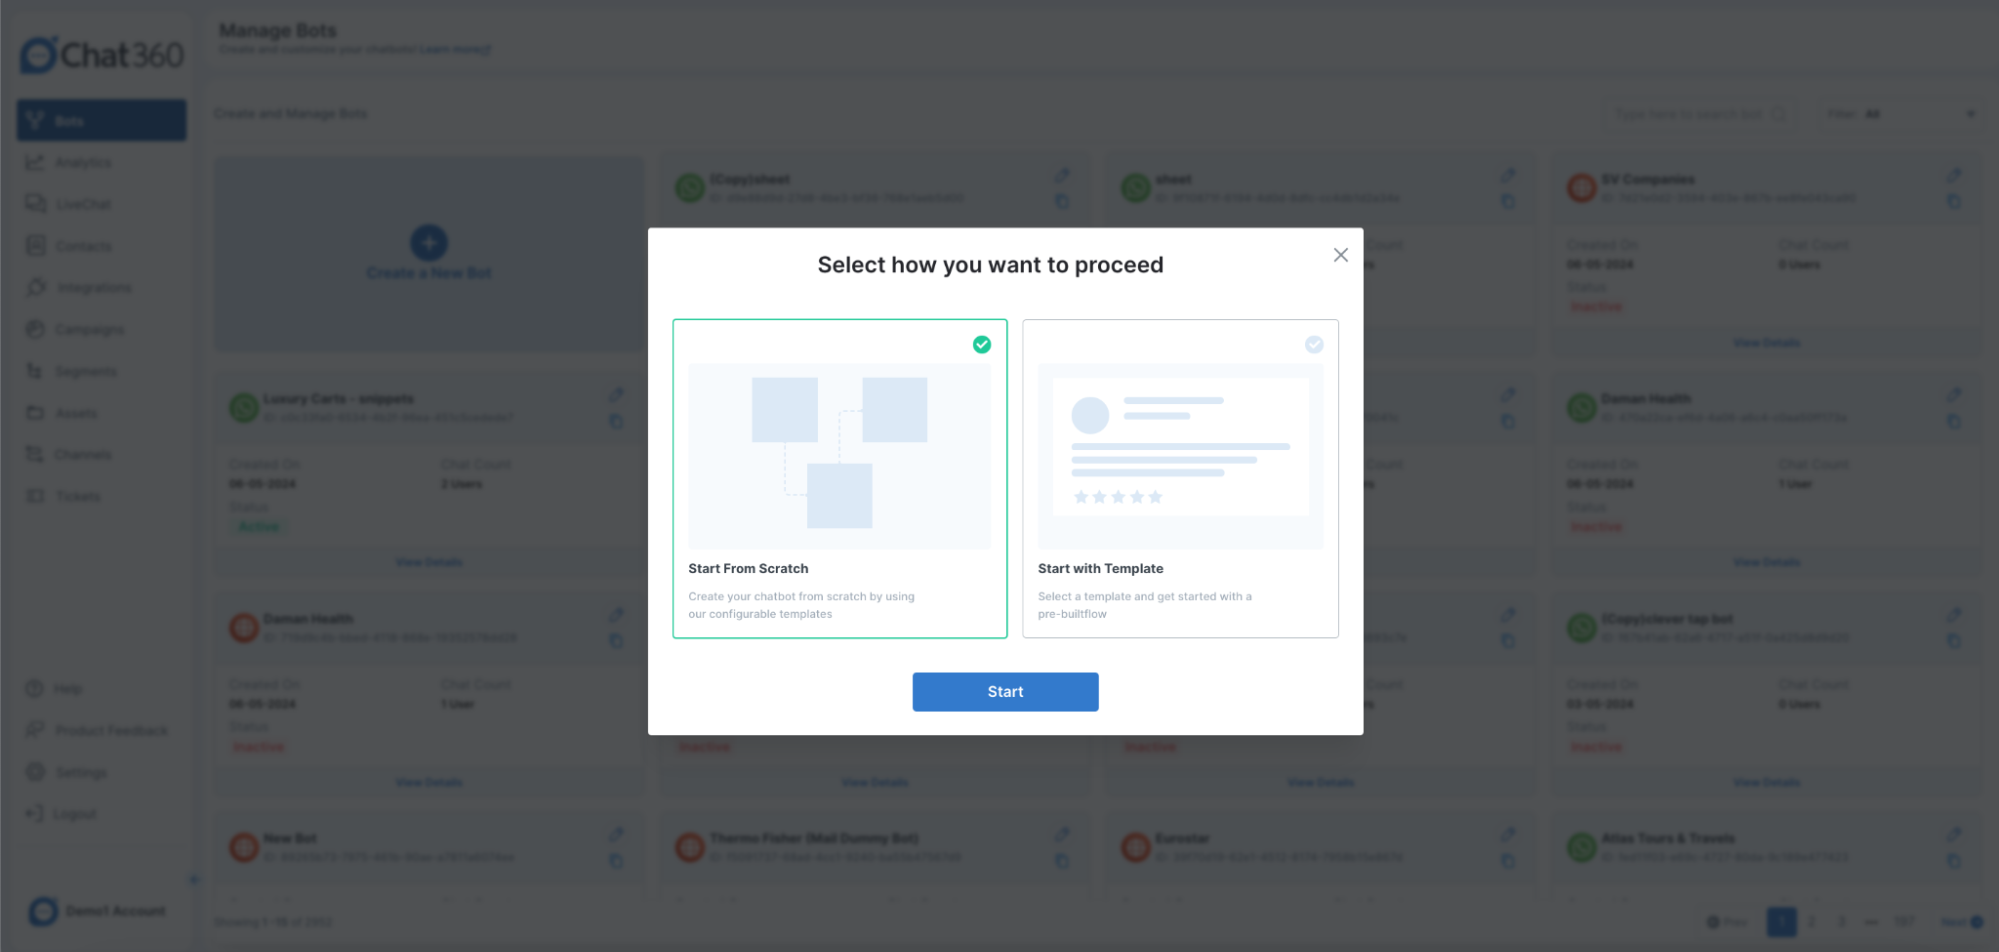
Step 3: Select Deployment Channels
Choose the channels where your bot will interact with users.
Pick one or more deployment channels—Web, WhatsApp, Facebook, Telegram, Instagram, Twitter, or Google.
After selecting the desired channels, click Create to generate the bot and configure channel access.
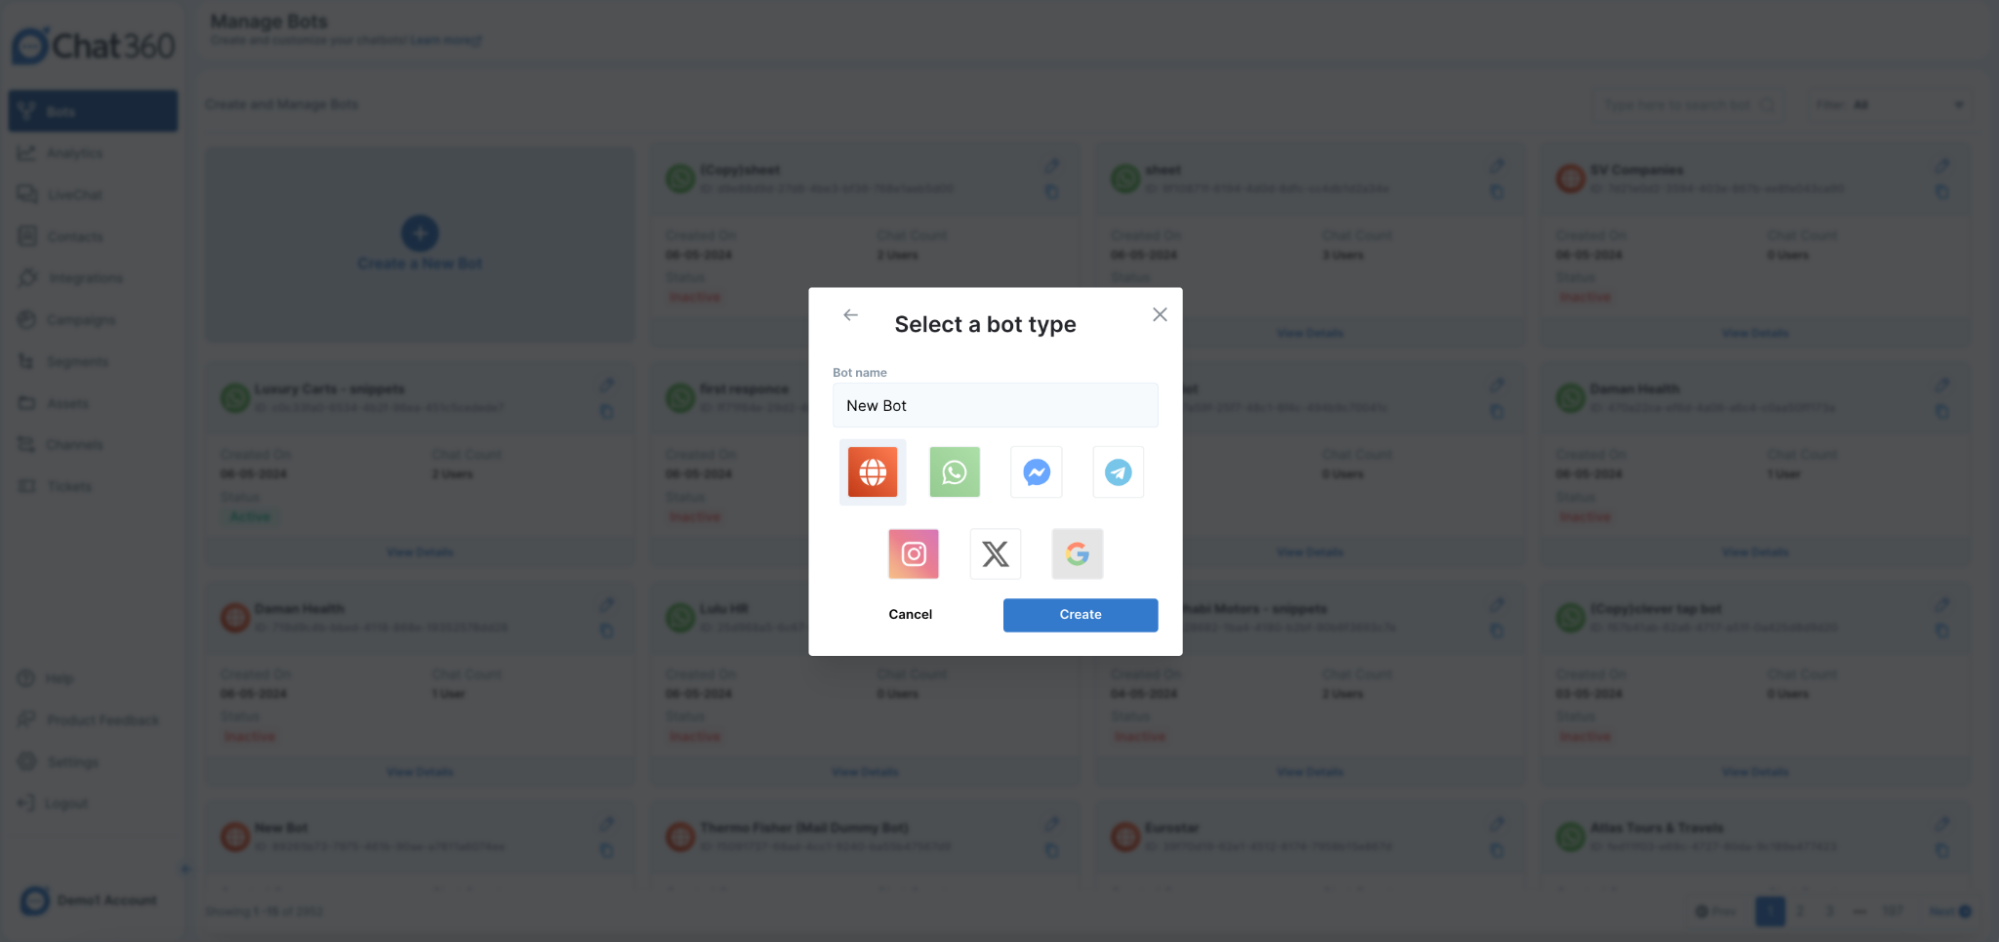
Step 4: Design the Conversation Flow
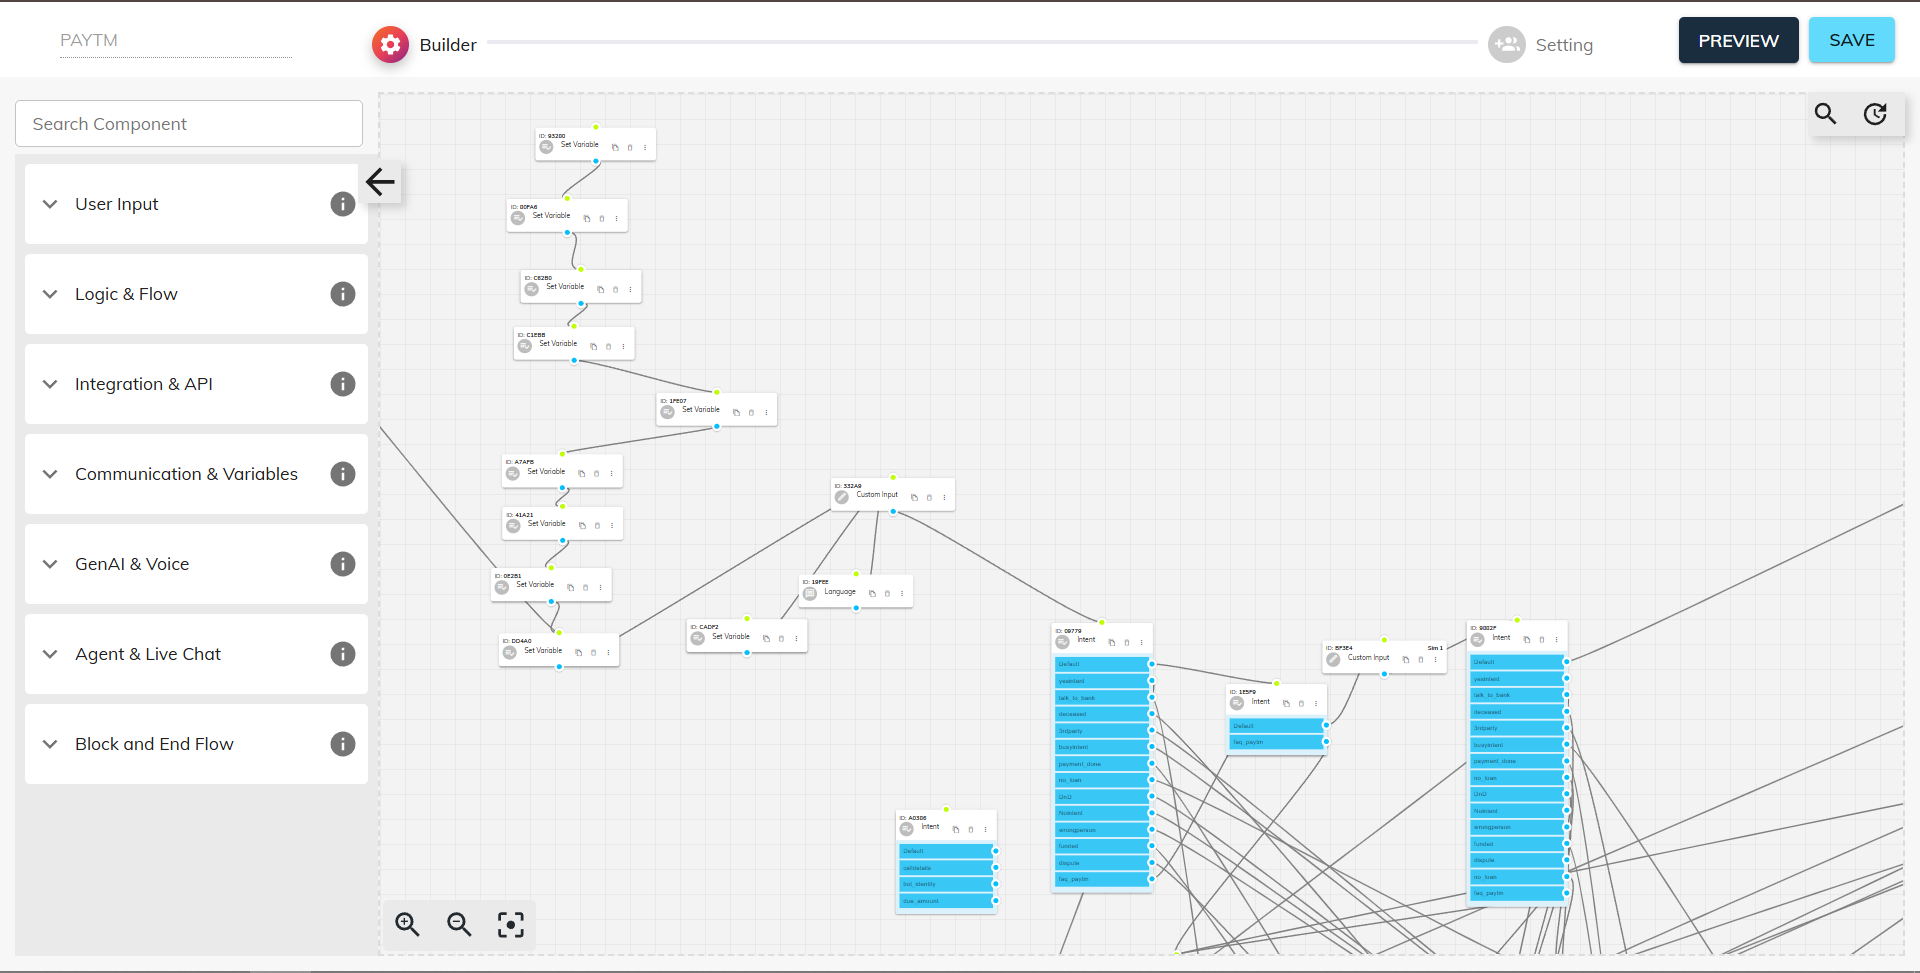
After creating the bot, you will be redirected to the Chat Builder Canvas.
This workspace allows you to design and manage your bot's conversation flow.
The Start Node is automatically placed on the canvas.
All other components should be connected to the Start Node to define the conversation path.
Step 5: Add and Connect Components
From the Component List on the left, drag elements (Message, Choice, Variable, API Call, etc.) onto the canvas.
Connect each node by dragging from a component’s blue output dot to another’s green input dot, forming a cohesive dialogue path.
Add lead-qualification filters within question nodes to automatically tag high-potential prospects based on their responses.
Step 6: Enhance the Bot with Integrations
You can extend your bot’s capabilities by adding additional components such as:
Lead Filters: Automatically tag users whose responses match specific sales or qualification criteria.
Email Integration: Send chat summaries or lead information to your team via email.
Google Sheets Integration: Store collected data and conversation details directly in a spreadsheet.
Transcript Export: Save full conversation logs for future reference or analysis.
Step 7: Save and Test the Bot
Once your flow is designed:
Click Save in the top-right corner to store your configuration.
Click Preview to simulate the conversation and test each interaction path.
Testing ensures all components behave as expected before deployment.
Step 8: Publish the Bot
Once validated, Publish your bot.
Your new agent is immediately available on the channels you selected, ready to greet users, qualify leads, and log every conversation for downstream reporting.
Key Features
Template-Based or Custom Bots: Launch quickly using pre-built templates or build fully customized conversation flows.
Lead Qualification Automation: Use filters and decision logic to automatically identify and prioritize potential customers.
Data Export and Reporting: Export chat transcripts, send summaries via email, or store conversation data in Google Sheets.
Multi-Channel Deployment: Deploy a single bot across multiple messaging platforms while maintaining a consistent user experience.
Example Use Case
A fintech startup needs to onboard new loan applicants:
Template Selection: They begin with a “Loan Pre-Qualification” template.
Channel Setup: They enable WhatsApp and Web Chat.
Filter Configuration: Questions about income, credit score, and loan amount automatically trigger lead qualification tags for high-value prospects.
Data Capture: Approved leads have their details emailed to the sales team and stored in a Google Sheet.
Go Live & Monitor: Within minutes, the bot is active—capturing 30 qualified leads in its first hour, each with a complete transcript and score for quick follow-up.