Set up an Account
Create and verify your Chat360 account with this simple step-by-step setup guide. Learn how to complete onboarding, configure your company profile, and start using Chat360.
Welcome to Chat360! We’re excited to have you join the Chat360 platform. Follow the steps below to create your account and begin using Chat360.
Step 1: Create a New Account
Visit the Sign-Up Page
Go to the Chat360 Sign Up page to begin the registration process.
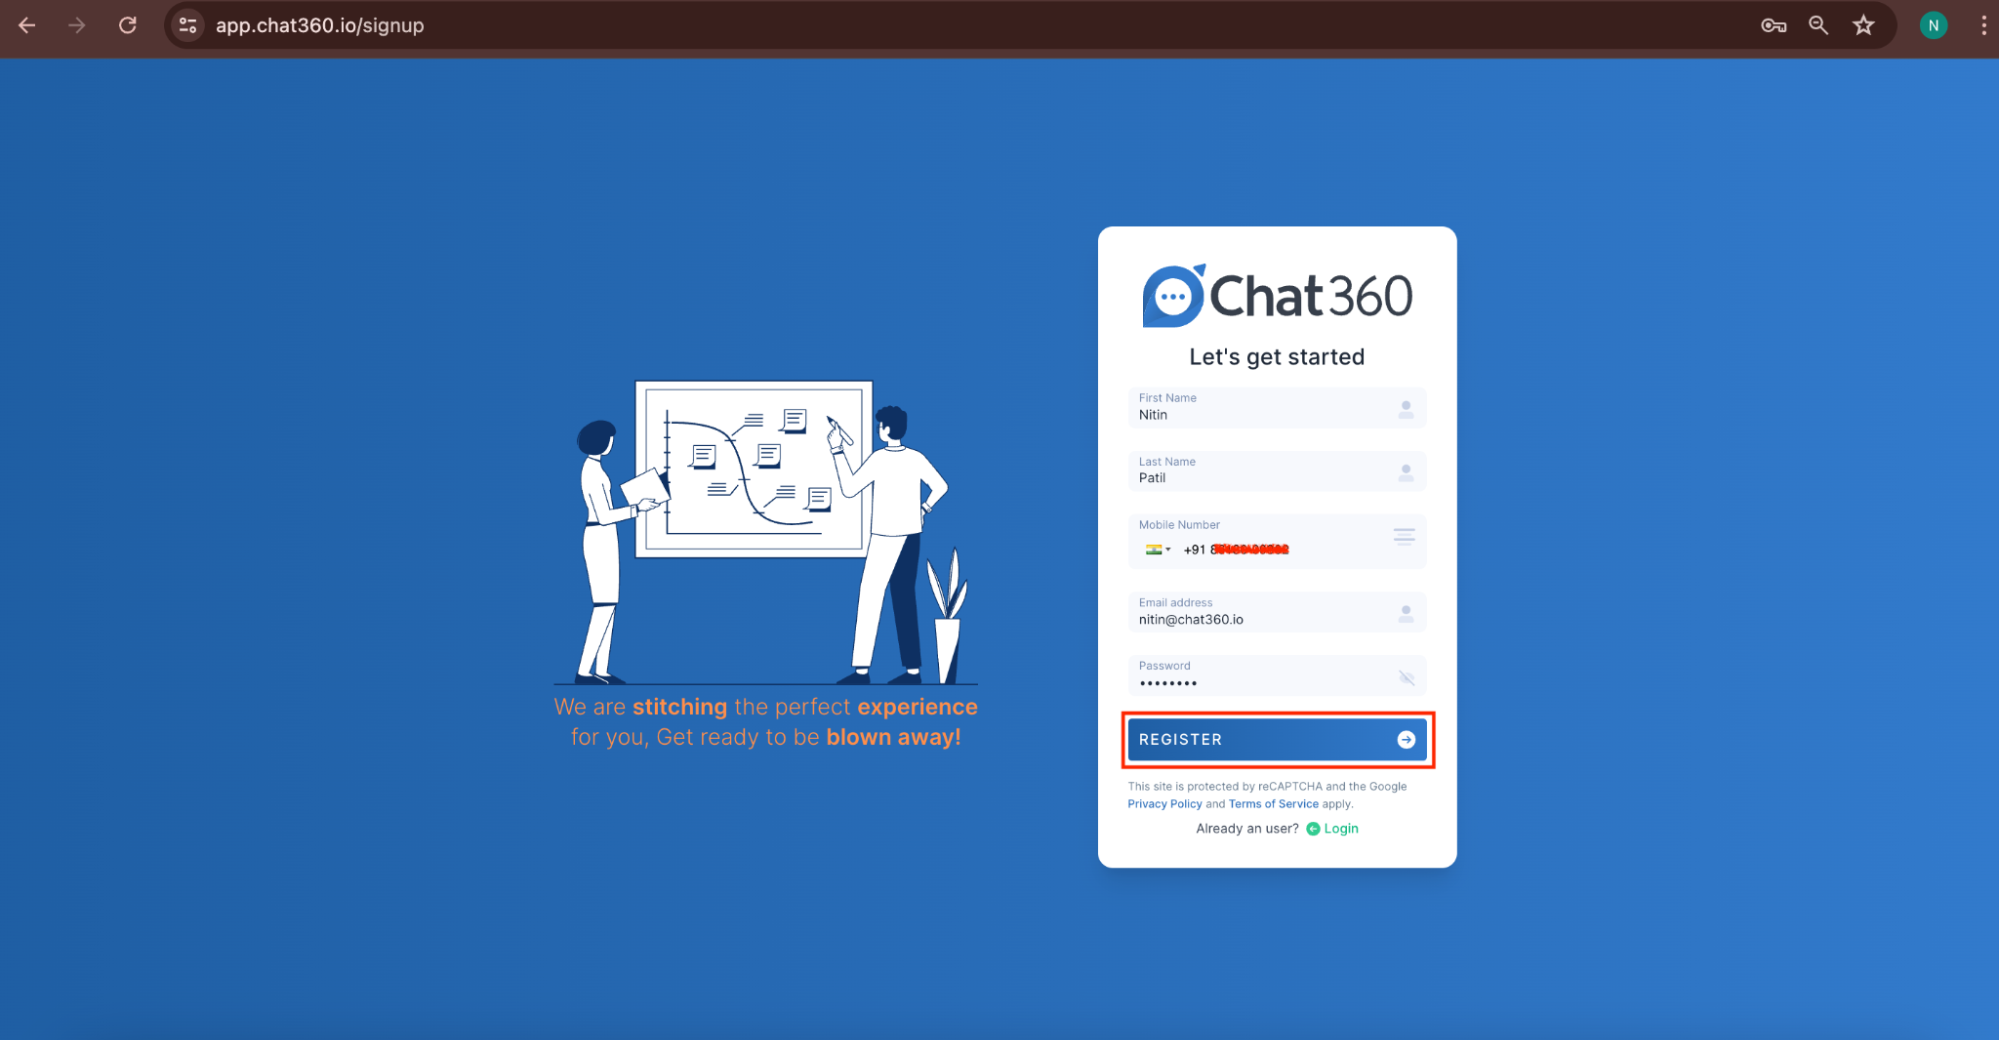
Enter Your Details
Provide the required information:
First Name and Last Name – Enter your full name.
Mobile Number – Provide your mobile phone number.
Email Address – Enter a valid email address.
Password – Create a secure password for your account.
Register Your Account
After completing all required fields, click Register to proceed.
Step 2: Verify Your Email
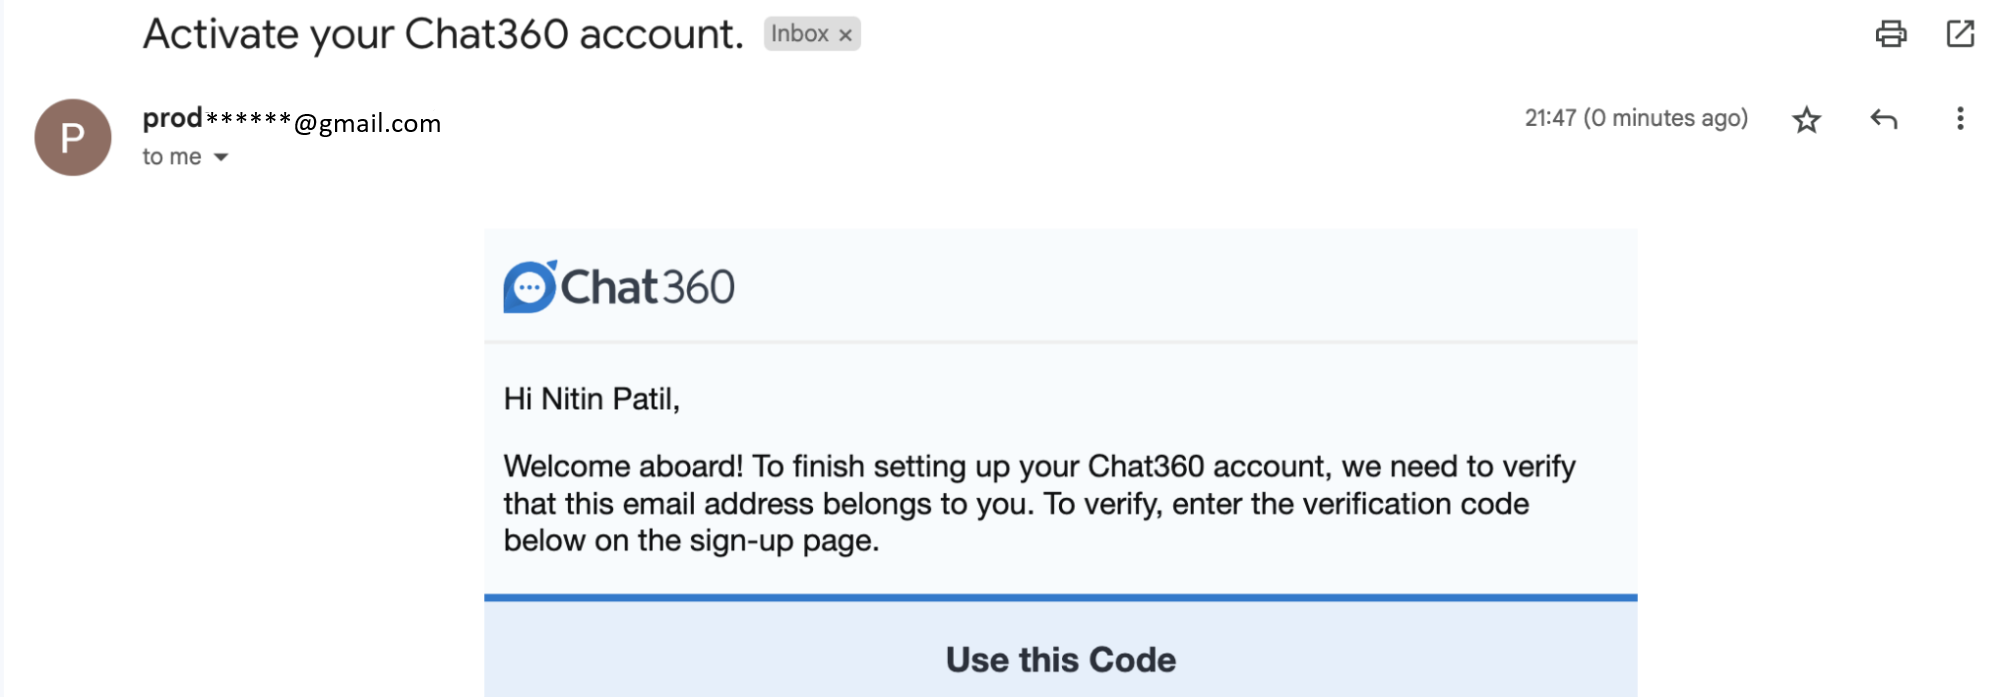
Check Your Email for the Verification Code
Open the email sent to the address you registered with.
Look for an email from production@chat360.io with the subject "Activate your Chat360 account."
Enter the OTP Code
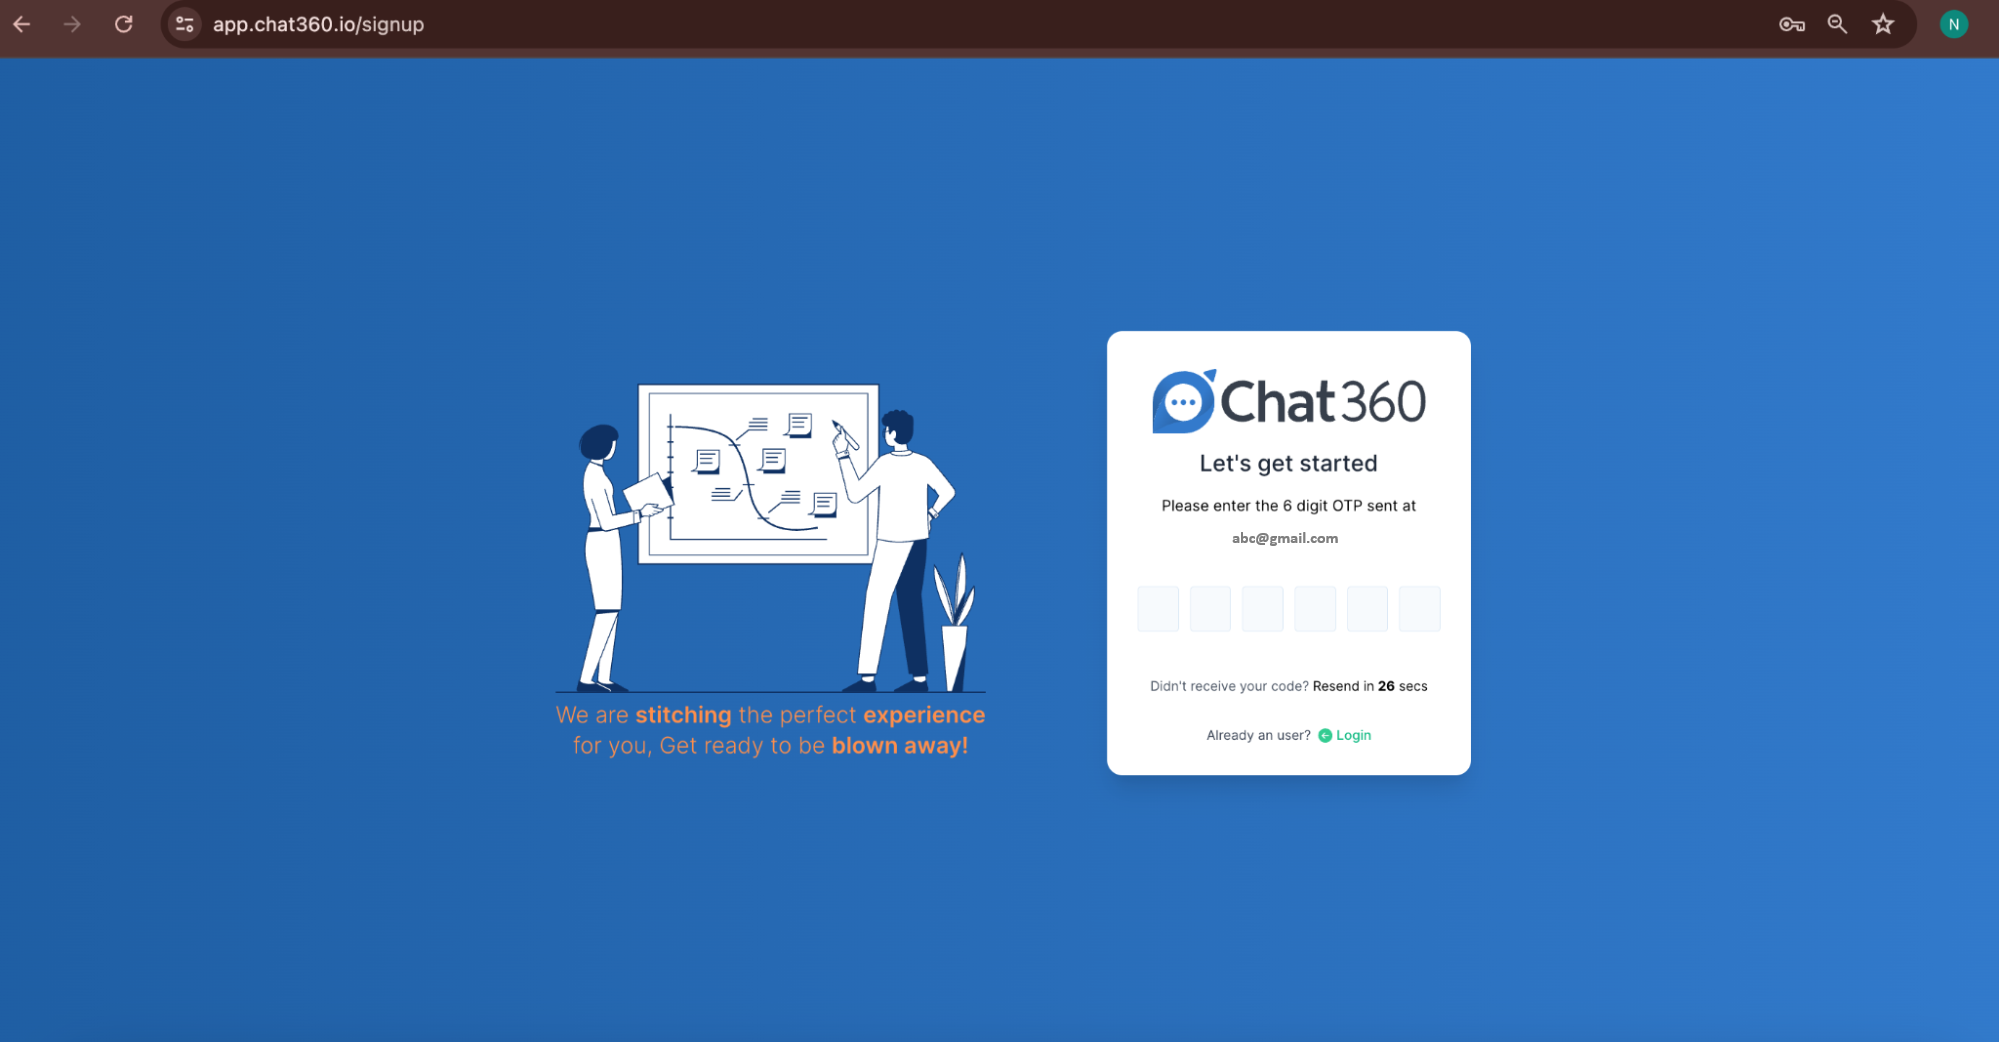
On the next screen of the signup process, enter the 6-digit OTP code that was sent to your email.
Complete the Verification
Once you have entered the OTP, your email will be verified, and your account will be activated.
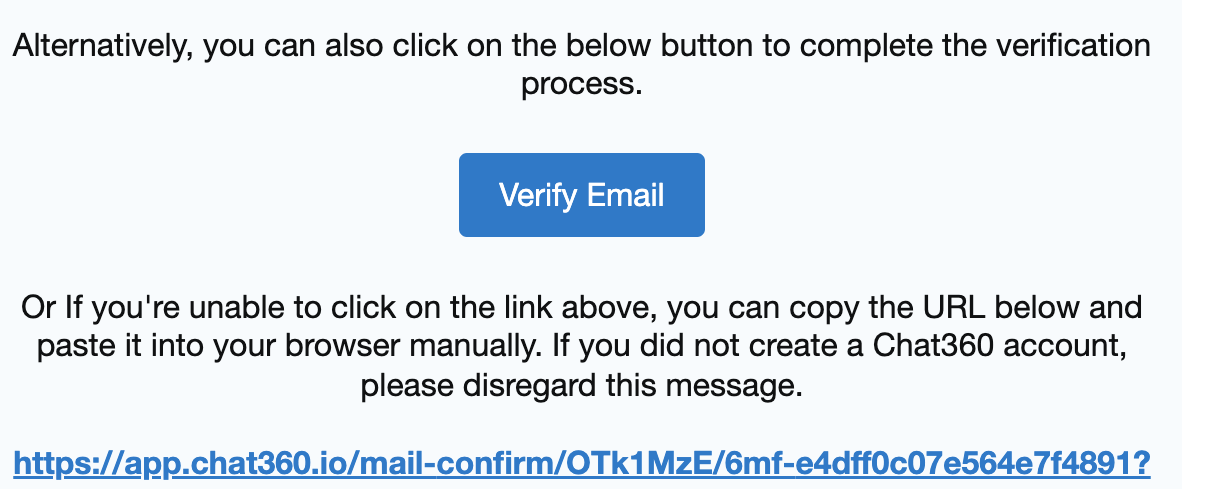
Verify Using the Email Link (Alternative Method)
You can also verify your account using the link provided in the email.
Click the Verify Email button in the email.
Alternatively, copy and paste the provided verification URL into your browser.
After clicking Verify Email, you will be redirected to the login page, where you will need to enter your password to complete the verification process.
Single Sign-On (SSO)
Chat360 supports Single Sign-On (SSO) using Google or Microsoft accounts. This allows users to log in without creating a separate Chat360 password.
If your email is not already registered with Chat360, you will be prompted to create a new account.
Sign in with Google
Select the Google option on the login page.
Authenticate using your Google account credentials.
Sign in with Microsoft
Select the Microsoft option on the login page.
Sign in using your Microsoft account details.
Step 3: Provide Company Information
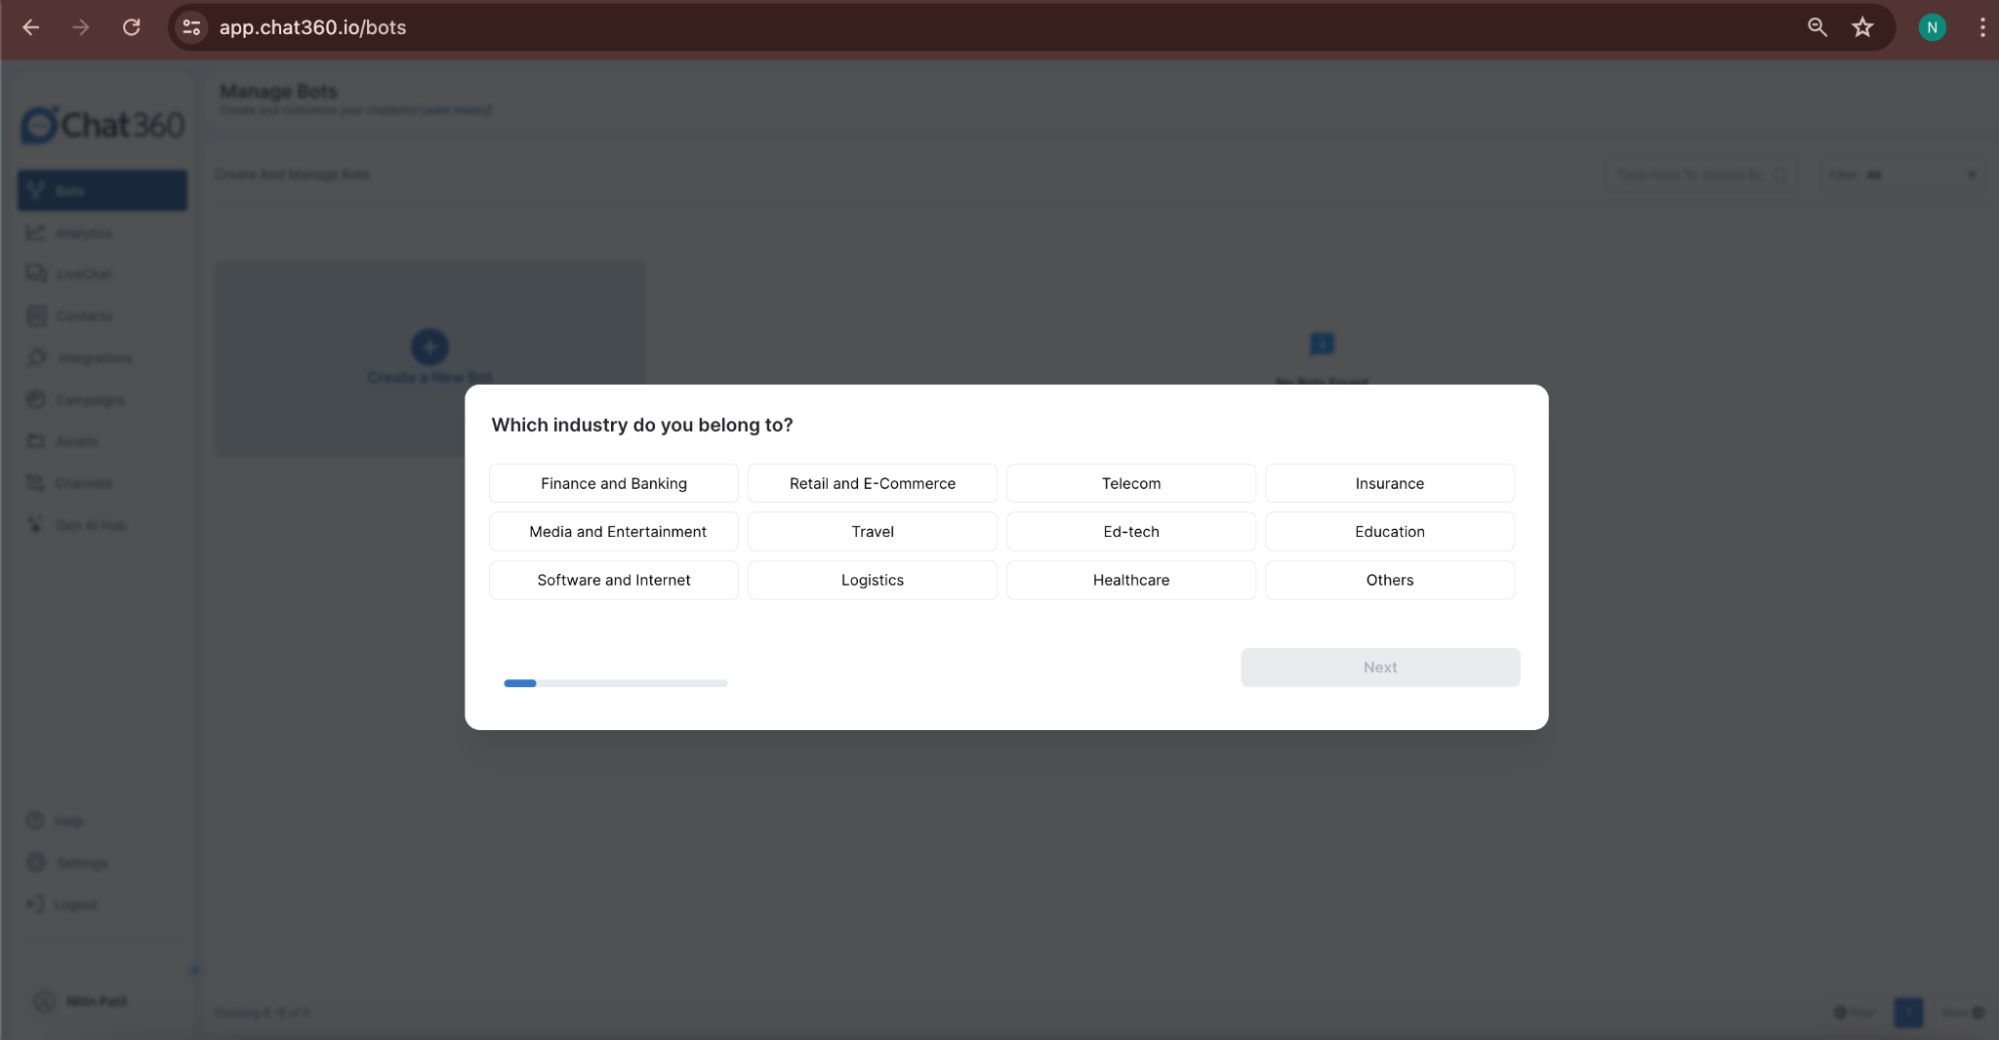
After logging in for the first time, you will be prompted to provide details about your company.
A pop-up will appear asking “Which industry do you belong to?”
Select the industry that best matches your business.
Click Next and complete the remaining company information fields. Providing this information helps Chat360 tailor the platform to your business needs.
Step 4: Confirmation and Platform Setup
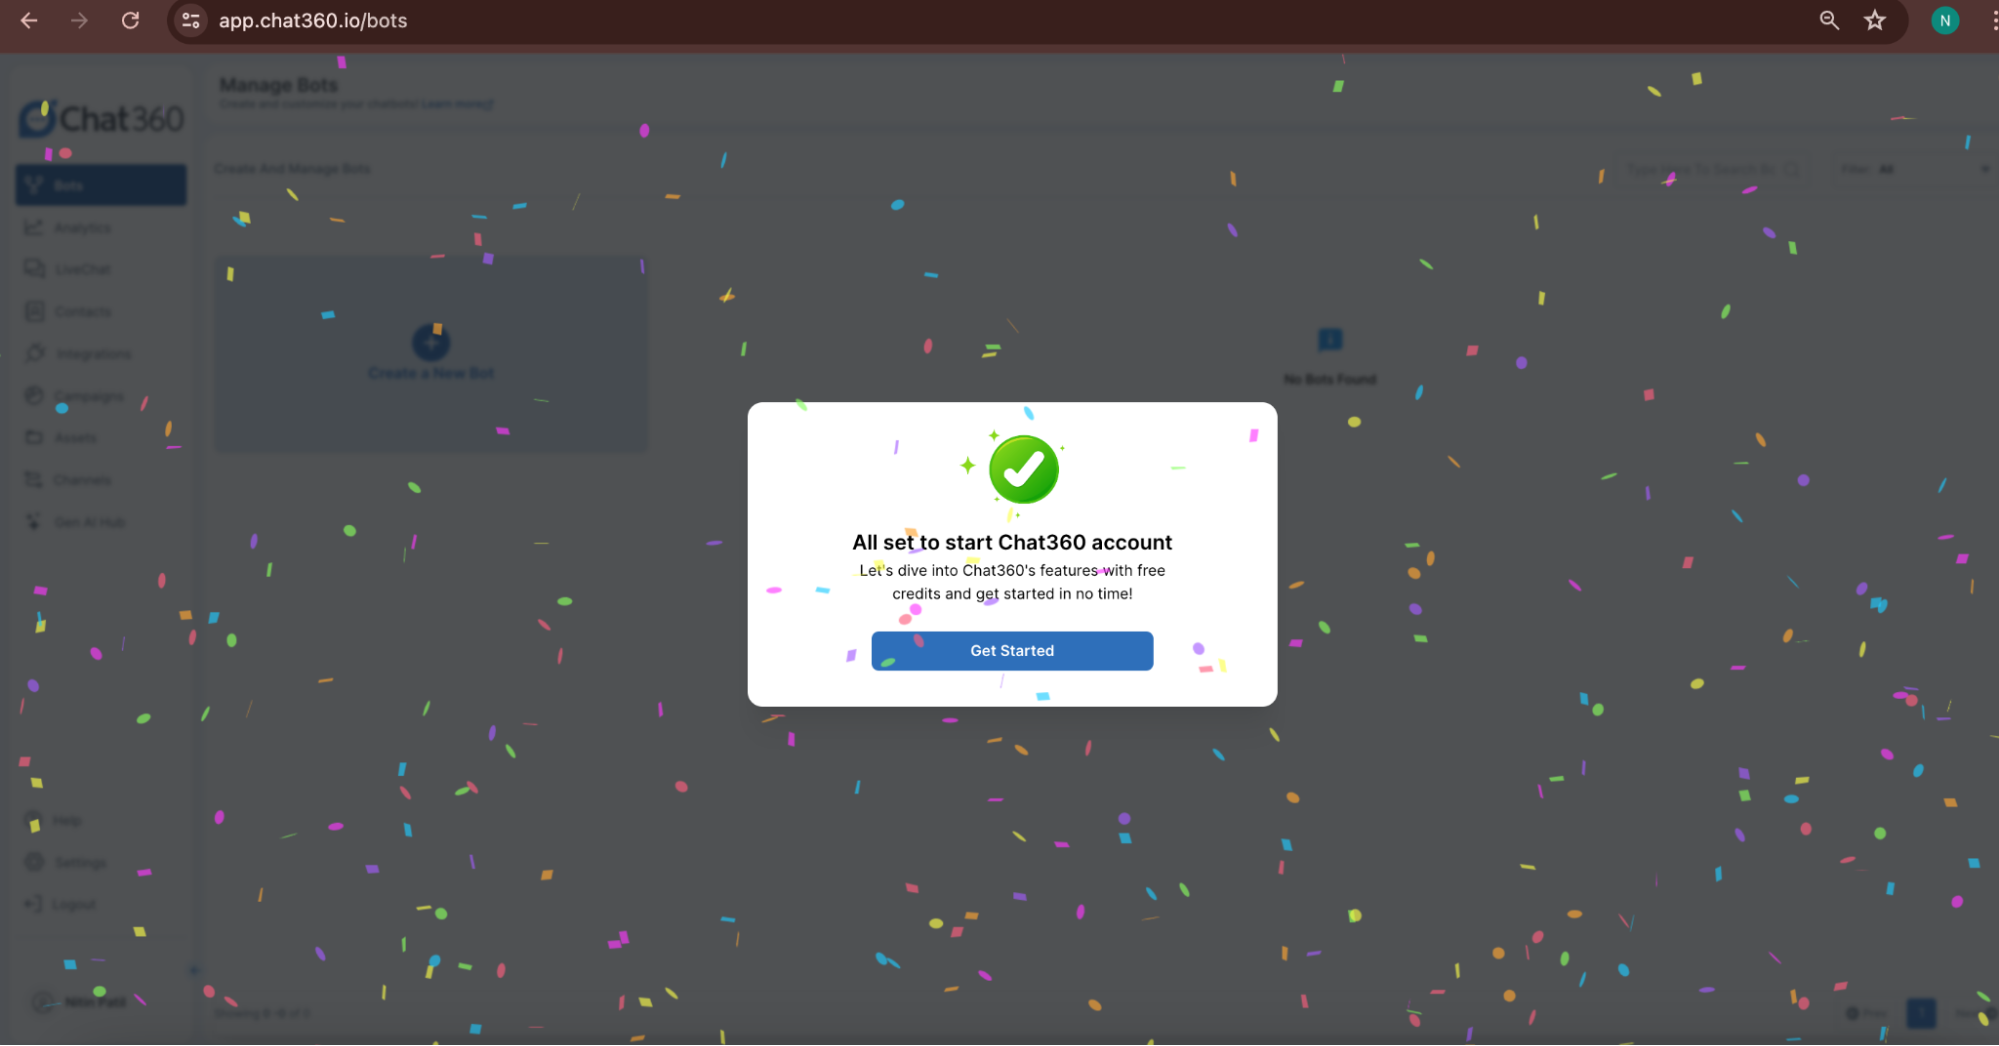
Once the setup process is completed, you will see a confirmation message:
“All set to start Chat360 account.”
Click Get Started to begin using the platform.
Logging in to Your Account
After registration and verification, you can log in to your Chat360 account using your registered credentials.
Enter Your Login Details
Email Address – Enter your registered email address.
Password – Enter your account password.
Click Login to access the platform.
Domain Login Prompt
If another user from your organization has already logged into Chat360 using the same business domain, you may see the following prompt:
“Admin account with the same business domain exists. Proceed to create a new account.”
You will be given two options:
No – Cancel the creation of a new account.
Yes – Proceed with creating a new account under the same domain.
Onboarding and Initial Setup
During the onboarding process, new users are asked to provide additional details about their organization.
Select Your Industry
Choose the industry that best represents your business. Available options include:
Finance and Banking
Retail and E-commerce
Telecom
Insurance
And other industries
Choose Your Starting Service
You will also be asked to select the primary service you want to start with:
Chatbot Service
Create and deploy chatbots across channels such as WhatsApp and websites.
Broadcasting
Send bulk messages, schedule campaigns, and personalize communications for large audiences.
This step helps Chat360 customize the platform experience based on your business objectives.