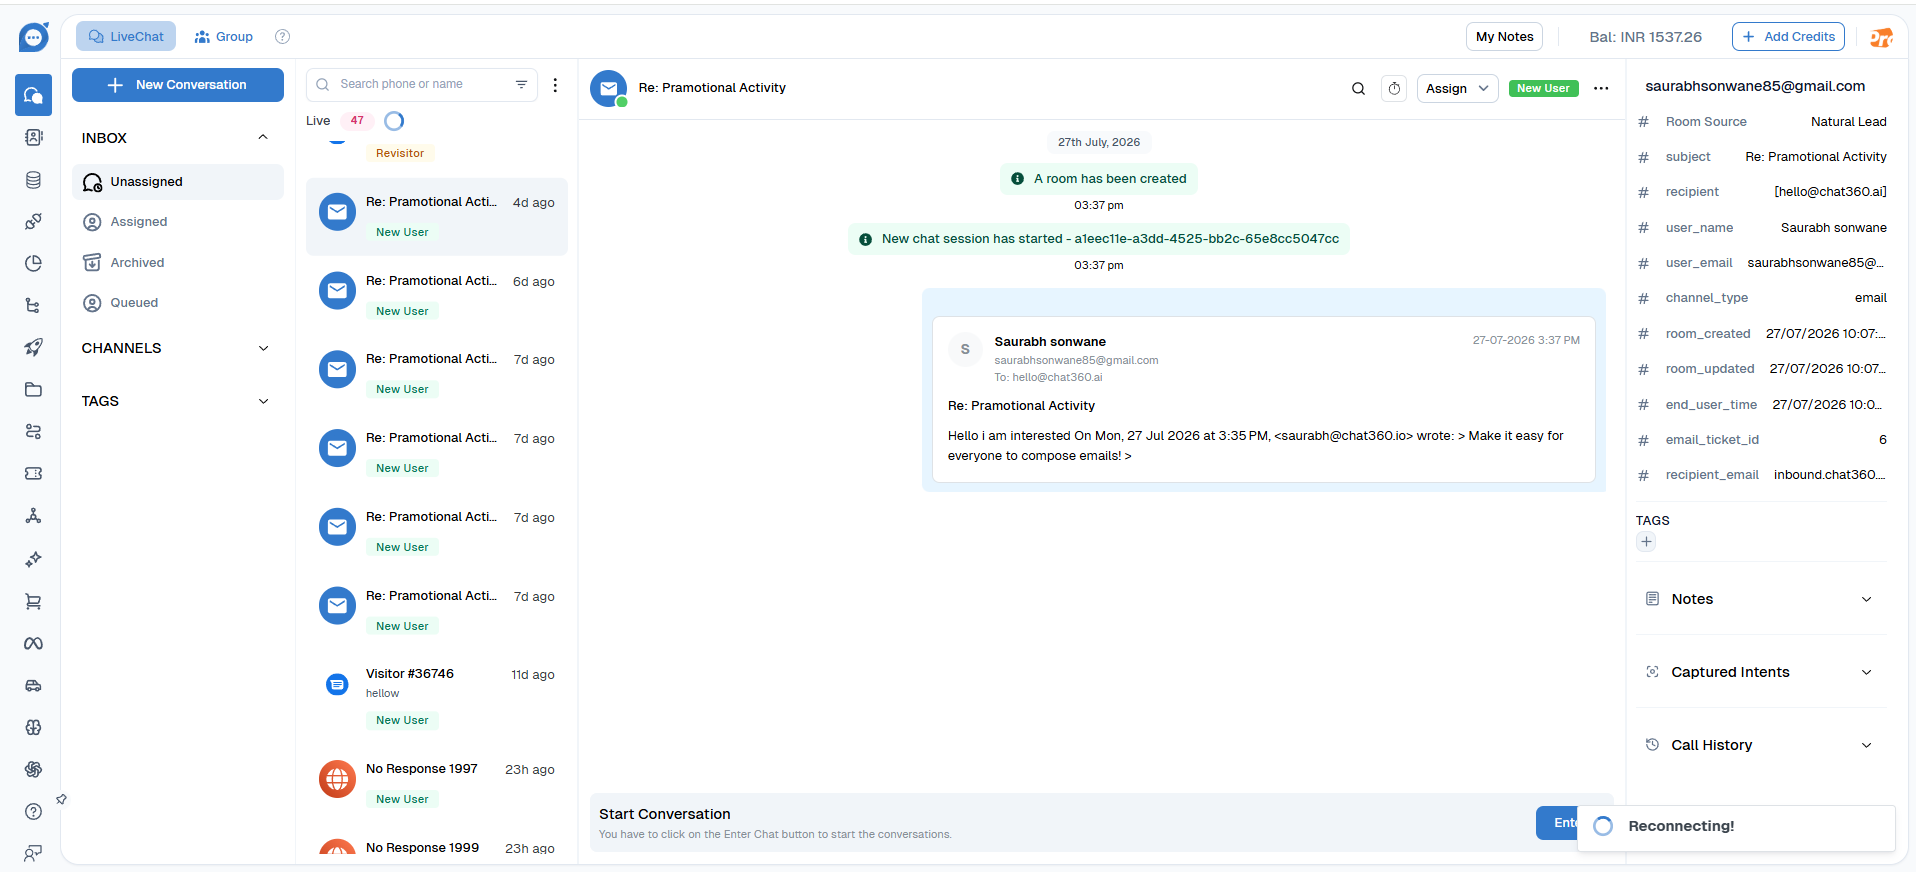
Converse Email Bot
Ready to automate customer emails? Set up Converse Email Bot by verifying your domain, creating an email channel and connecting an Agentic AI assistant.
Deploying your AI bot in Chat360 is a straightforward process. Once your bot has been created, the only remaining step is to configure the communication channel through which customers will interact with it. For email-based bots, this involves two simple stages. Domain Management – Verify your email domain so emails sent through Chat360 are authenticated and trusted by recipient mail providers. Channel Configuration – Create an email channel using the verified domain and associate it with your bot or AI assistant. After these steps are completed, your bot is ready to send, receive, and manage customer conversations through the configured email channel.
Domain Management
Your email domain is the foundation of Converse. It ensures your emails are authenticated and trusted by recipients' email providers.
Why Domain Verification Matters
Email authentication (CNAME records) prevents spoofing, improves deliverability, and ensures your emails reach customer inboxes instead of spam folders.
Adding a Domain
1: Navigate to Domain Management
In Chat360, go to Connect Channels → Email Channels → Domains tab.
2: Click "Add Domain"
Enter your email domain (e.g., hello@yourcompany.com → domain is yourcompany.com)
3: Copy the CNAME Record
Chat360 provides a CNAME record. Copy this record.
4: Add to Your DNS Provider
Log into your DNS provider (GoDaddy, Namecheap, Route 53, etc.) and add the CNAME record in your DNS settings.
5: Verify in Chat360
Return to Domain Details and click "Verify Domain". DNS propagation may take 24–48 hours.
Domain Status
Status | Meaning | Action Required |
|---|---|---|
Pending | Domain added, waiting for DNS record verification | Add CNAME record to your DNS provider |
Verifying | DNS record detected, verification in progress | Wait 24–48 hours for propagation |
Active | Domain verified and ready to use | Create email channels using this domain |
Failed | Verification failed, DNS record not found | Check DNS provider, ensure CNAME record matches exactly |
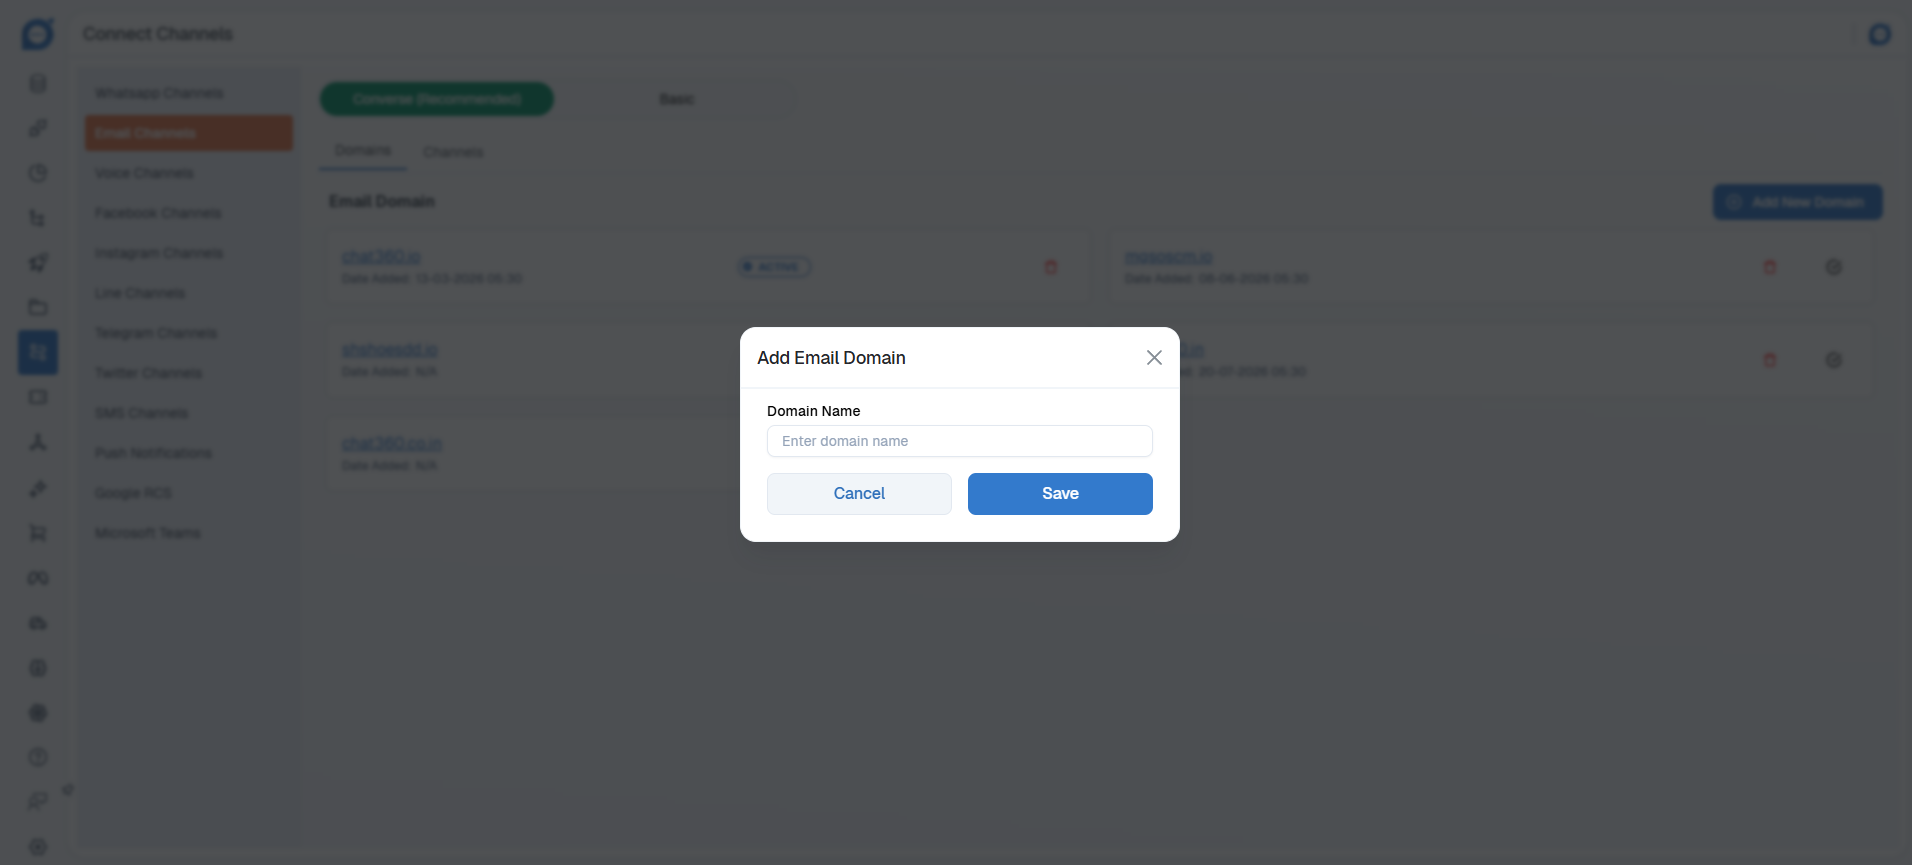
Domain Management Interface
Add Email Domain dialog for registering and verifying a new sending domain.
Multiple Domains
You can add multiple domains to Converse. This is useful for:
Different business units (e.g., support@company.com, sales@company.com)
Regional variations (e.g., support@company.com, soporte@company.mx)
Subdomains for testing before production use
Important
Unverified domains will be automatically removed two weeks after being added. Ensure you complete DNS verification within this timeframe.
Channel Configuration
A channel is how you connect your verified domain to specific email addresses and configure how replies are handled.
Understanding Channels
Each channel represents a specific email inbox.
Support Channel → support@yourcompany.com (receives support tickets)
Sales Channel → sales@yourcompany.com (receives sales inquiries)
Notifications Channel → noreply@yourcompany.com (sends alerts)
Creating a Channel
1: Go to Email Channels
Navigate to Connect Channels → Email Channels → Channels tab.
2: Click "Add Channel"
Choose Email Channels from the list.
3: Fill in Channel Details
Channel Name : Give it a descriptive name (e.g., "Support")
Domain : Select your verified domain from the dropdown
Email IDs : Add the email addresses that will receive messages (up to 5 emails per channel)
Inbound Address : This is where customer replies are sent. Chat360 provides this automatically.
Assistant : Choose an AI assistant to help manage conversations (optional)
4: Click "Update Account"
Your channel is now active and ready to receive emails.
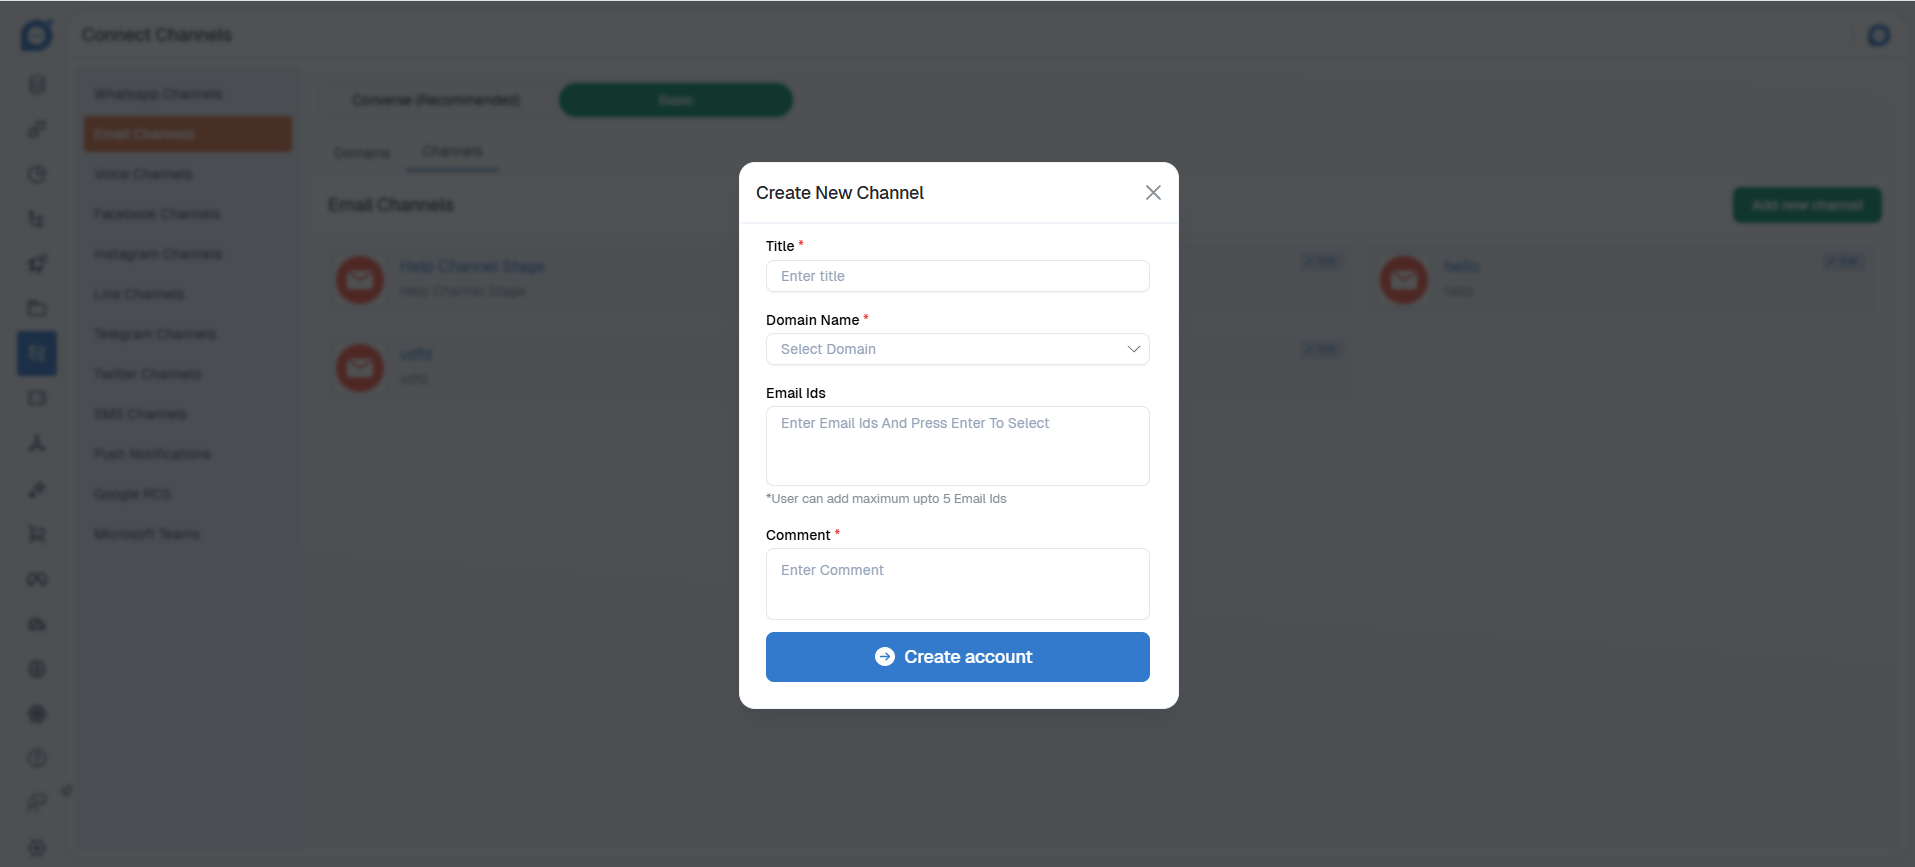
Channel Fields Explained
Field | Purpose | Example |
|---|---|---|
Channel Name | Display name for this channel | Support, Sales, Billing |
Domain | Verified domain for sending emails | yourcompany.com |
Email IDs | Addresses that receive incoming messages | support@yourcompany.com |
Inbound Address | Where customer replies route back to Chat360 | inbound.chat360.ai (auto-generated) |
Inbound Forward Address | Forwards the inbound message to a mailbox you can access directly, so your team can view it in a regular inbox in addition to Chat360 | support@chat360.io |
Assistant | AI assistant to automate responses | ROYAL_ENFILED (optional) |
Tip
Use multiple channels to separate different types of emails. This makes it easier to organize conversations and assign teams.
How Inbound Works
When a customer replies to an email from your campaign:
Email arrives at the customer's email provider.
Customer clicks Reply and sends their message.
Reply is routed to your inbound address automatically.
Chat360 connects the reply to the original conversation.
You see the reply in the Live Chat window.